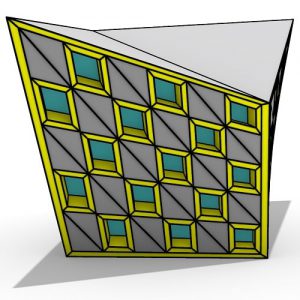
5- Parametric Curve Attractor
In this video tutorial, I will explain how you can use u,v coordinate system to produce a parametric curve on a surface and use it as an attractor to affect the frames of triangular panels.

In this video tutorial, I will explain how you can use u,v coordinate system to produce a parametric curve on a surface and use it as an attractor to affect the frames of triangular panels.
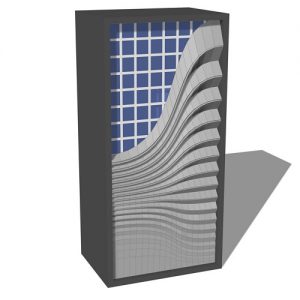
In this Grasshopper example file you can design a parametric Louver facade using the Pufferfish Plugin.
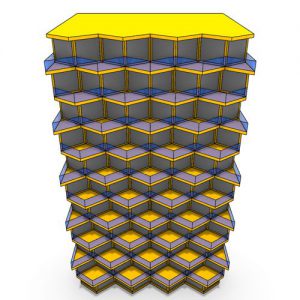
In this Grasshopper example file you can design a parametric building using the native grasshopper components.
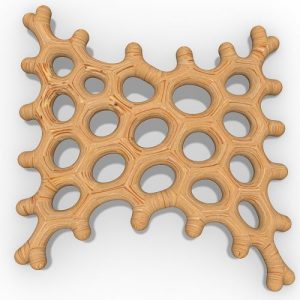
In this Grasshopper Dendro tutorial, you can learn how to create a growing mesh by defining a series of spin fields on a NURBS surface using the Heteroptera plugin.
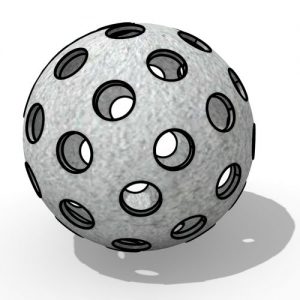
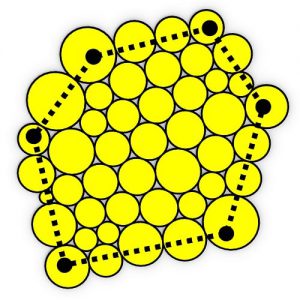
In this Grasshopper Tutorial for beginners you will learn how to use the Sphere collide component to generate evenly distributed holes on a NURBS surface.
In this Grasshopper Kangaroo example file, you can circle pack a mesh using the "TangentIncircles" component.
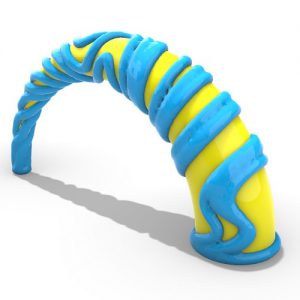
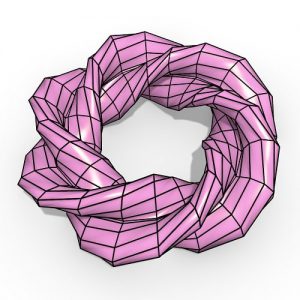
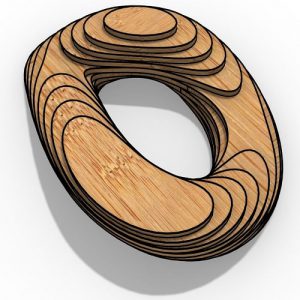
In this Grasshopper example file, you can utilize the Nautilus plugin to design a parametric Twisted Torus.
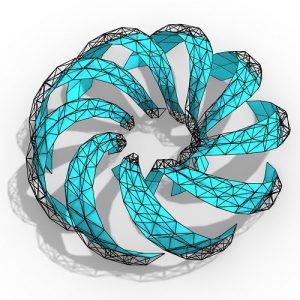
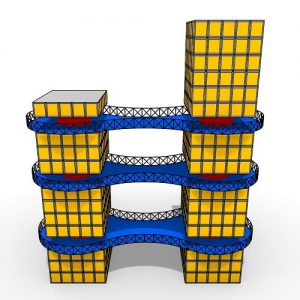
In this Grasshopper example file, you can model twisted torus strips and convert them into a spaceframe and panels using the Lunchbox Plugin.
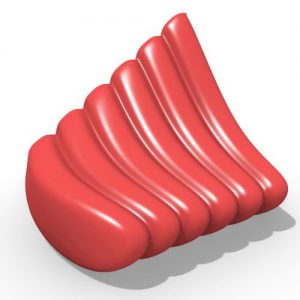
In this Grasshopper example file, you can convert a series of curves into a mesh with a 3d groove pattern using the Nautilus and Weaverbird plugins.
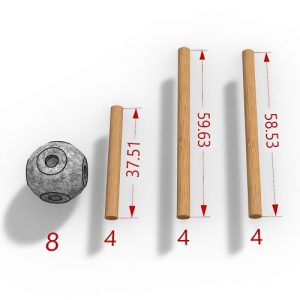
In this Grasshopper tutorial, you will learn how to model a parametric joint on the corners of a box with controllable parameters.
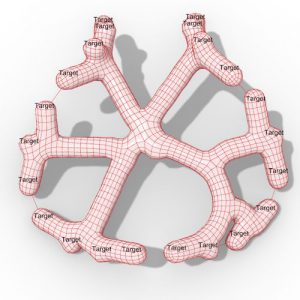
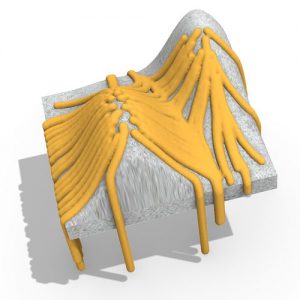
In this Grasshopper example file, you can simulate an optimized path from an origin point/points toward a set of targets. The strategy involves branching at diverging points.
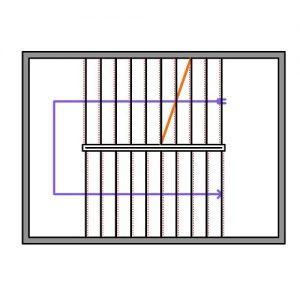
In this Grasshopper example file, you can model a staircase detail drawing from the plan view and easily change the parameters.
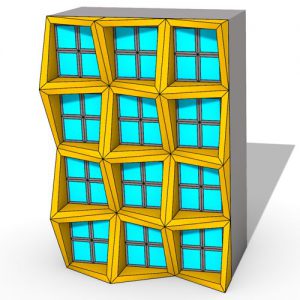
In this Grasshopper example file, you can design a parametric facade using four different techniques.
In this Grasshopper contour tutorial, we will learn how to extract a series of solids from a part of a mesh by defining the direction and length with a single line.
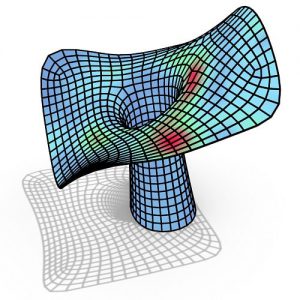
In this Grasshopper Millipede tutorial, you can learn how to model a series of smooth connecting columns to a roof and then analyze it using Millipede's Finite Element Analysis.
In this Grasshopper Kangaroo tutorial, you can discover how to simulate the flow of a series of particles on a solid and then convert it into a mesh.
In this Grasshopper tutorial, you can learn how to generate Perlin noise on a surface and convert it into a solid.
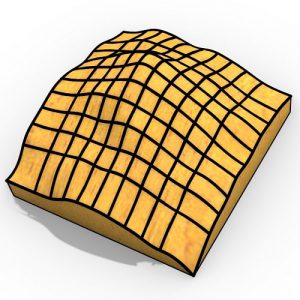
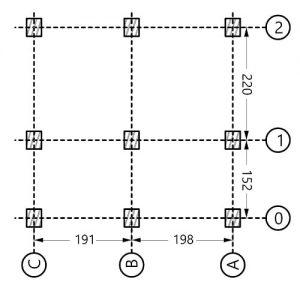
In this Grasshopper tutorial, we will learn how to generate a structural grid from a series of grid points.
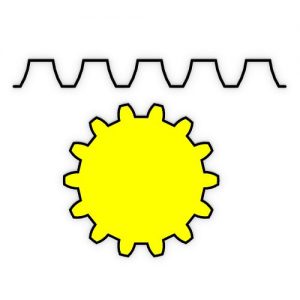
In this Grasshopper tutorial, we will explore how to create a simple parametric gear and a radial mechanism, and also include an example file for the Iris mechanism.
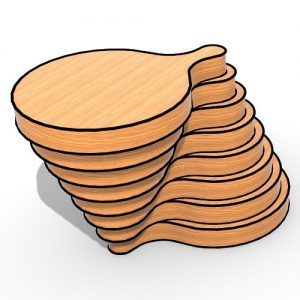
In this Grasshopper tutorial, we will learn how to create a series of parametric solids using the "Tangent Arcs" component.
In this Grasshopper tutorial, we will model a parametric brick wall on a NURBS surface with a rectangular projection. We can also adjust the thickness of the bricks based on point attractors.
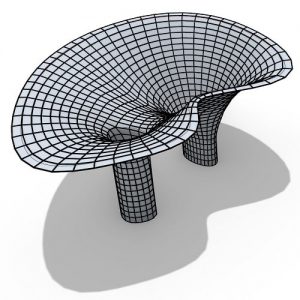
In this Grasshopper Kangaroo tutorial, we will model a parametric mesh pavilion by simply defining the top curve and the location and profile of the columns.
In this Grasshopper Kangaroo tutorial, we will learn how to create a mesh with controllable anchor points and n-gon polygons.
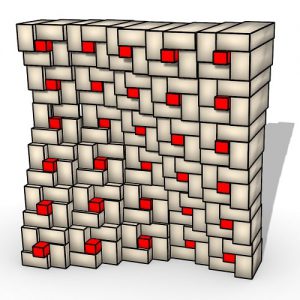
In this Grasshopper Architecture tutorial, we will model a parametric building facade and create a checkerboard pattern on the panels.


Comments
Felsager
More tutorials like this should happen more often. The possibilities for further developing this one are almost endless. This generalizes a lot of topics in a single lesson.
Outstanding tutorial.
rezae
Thank you!
I am grateful for your support.
Cfeldman
What if you have a “”Polysurface””,and not a ‘Surface’ to apply the LunchBox-plugin and…
finally go to Panelling-Attractor exercise.
How to resolve that ?
Thanks your help…………….
rezae
Hi Claudio
Surfaces are singular and continues which means you can do everything that you could done on 2d space inside rhino you’ll be to do on the surface (instead of x and y , you have U and V) but Polysurface are made from surfaces so you cannot define a point on a Polysurface with just 2 value (like x and y), even though you can have access to each individual surface on a polysurface but aligning pattern on edges would be very difficult .
So I think easiest solution is that you can work on unfolded (expanded) version of your polysurface and then rebuild the generated pattern on the polysurface
rw3iss
Attachment 2021_10_14_00_49_26_13dm.3dm_108_KB_Rhinoceros_7_Corporate_Perspective_.png
Hi, it is a great tutorial, thank you!
I am wondering if you could advise on how to remove this connecting line attached here…
I changed the arc to an ellipse, to make a complete form, and this line appears during the Loft stage.
I can’t find a setting in the Loft or Weaverbird PanelFrame to have it not show.
If it is a little complicated, can you just briefly explain it? Should I think to remove such a thing earlier on at the loft/curve stage, or later in the Weaverbird construction, or after?
Here is my modified grasshopper definition if it helps: https://drive.google.com/file/d/1bFa92gkGJHSRb9YFzB7LHUQABVkwFxjs/view?usp=sharing
rezae
Hi, we can not apply this solution on any periodic surface since the pattern is symmetrical on Z axis so the pattern couldn’t wrap around periodic surfaces
thanks
Bernard
Hi, is there any technique to limit the number of panel dimension, lets say to 10 different panel to build the entire surface?
Thank you
rezae
Hi Bernard,
I think using “Rectangular Grid” from Lunchbox plugin can be the easiest solution.
Best,