Differential Growth
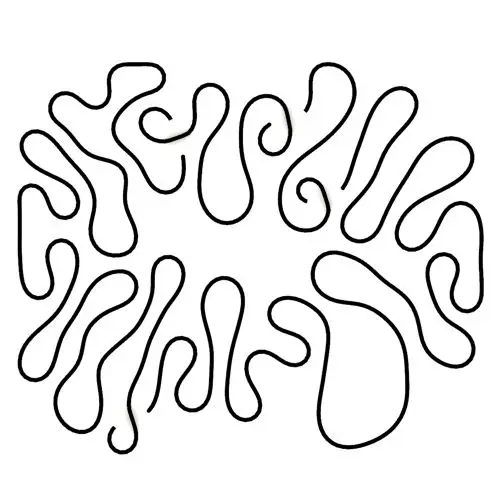
In this Kangaroo Grasshopper tutorial, you’ll learn how to create a differential growth pattern on any mesh surface by projecting
In this tutorial, I will be using evaluate curve to produce a seashell geometry. Understanding the curve’s tangent and producing different controllable data with “range” is taught in is this tutorial.
Duration : 34 Minutes
First of all, I want to explain how the algorithm works. The first step is to have a curve as the seashell’s main section.
The next step is to rotate this curve around a point which is located on the curve, and with the curve’s tangent as the rotation axis.
If you rotate the main curve several times you can make the base sections for the seashell.
After rotating we will scale them from the same point we rotated the sections from. the scale decreases as we rotate the sections.
The last step is to scale the sections again. The scale factor can be a repeating number which makes the seashell look more interesting.
Ok, let’s start modeling the seashell with Grasshopper 3d! The first step is to make 4 points (params>gemeoetry) and right click on the point and choose multiple geometries. After defining the points we can use a “Nurbs Curve “(Curve>Spline) to connect the point together.
To make the curve closed, we can right-click on “periodic” and set boolean to true.پ
If you select the points and the Grasshopper’s gumball is activated (Display>Gumballs), you can easily move the curve’s point to have the desired form.
The next step is to “Evaluate curve” because we want to rotate it around the curve’s tangent. You can find it in Curve>Analysis section or simply search “eval”.
After connecting the Nurbs curve output to evaluate curve’s input, we need to define the “Parameter” or “t”. The curve’s Parameter is actually a number of the curve’s domain so if you want to see the curve’s domain, you can simply connect a domain (Params>Primitive) to the curve and connect the output to a panel. As you can see below, the curve’s domain is 0 to 4 so if we want to move from start to end of the curve we should give a number from 0 to 4 to the “parameter” input.
The curve’s domain is different for different curves. As you can see below, if I choose another curve the domain changes.
Becuase working with the curve’s main domain is a little bit difficult we can right click on curves (Inputs or outputs) and choose “reparametrize”. As shown below, an icon will appear next to the node and the curve’s domain will be scaled to 0 and 1. This is the more common way to define “t” or “parameter” because it’s always between 0 and 1.
After giving a number between 0 and 1 to the parameter we can see that the point is evaluated. To see the tangent you can use “vector Display” (Display > Vector) and also multiply the tangent (the output is a unit
ector) by a number (like 10 times bigger) as shown below.
For rotating the curve we can use “Rotate3d” from Transform>Euclidean menu. The “Geometry” is the curve, The center of rotation is the evaluated point and the axis of rotation is actually the tangent. If we give a number to the “Angle” we can see the curve rotate by its tangent
But keep in mind that by default, Grasshopper uses “Radians” for angles. This can easily be changed to degrees by right-clicking on the angle and choosing degrees. An icon will appear next to the angle, as shown below.
If the curve is rotating in the wrong way you can easily right-click on “angle” and choose “Expression”. In this field you can alter the input by defining an expression written by x. For example we can use “-x” to invert the rotation.
If we give multiple numbers to “Angle” we can see that the curve rotates mutiple times. But instead we need to give a series of rotating angles to have the desired form.
By using “Range” (Sets>Sequence) we can define the maximum and minimum rotation angle. I have talked about “Series” before. Using Series for rotation is not a good option because we can’t control how much the seashells rotates. But instead, we use a “range” and give a “construct domain” (Maths>Domain) to the “domain’s” input. This tool can easily combine two numbers and make them a parametric domain. The “Steps” of the Range can define how many curves we need between the desired domain.
The next step is to scale the sections with “Scale” (Transform>Affine). The Rotate3d’s output is connected to the “Geometry” input of scale and the center of scale is same as the center of rotation. To make the sections become smaller, as the section rotates, we can go for a similar “range” approach. The minimum scale factor is 1 and that is because we want the main section curve not to scale. The maximum is a small number so the shell forms as the section rotate. I have used 0.01 for the end of the scale but you can change this to have a different form.
We can use the “Graph Mapper” technique which I explained thoroughly before (series section) to make the scale go nonlinear!
The last part is to give a second scale for the sections to make a pattern on the seashell. We can easily use “Scale” and define a repeating pattern for the “Factor”. This can be done by having multiple scale factors produced by the “repeat data” (Setes>Sequence) tool. The “Length” input is defining how many times the numbers repeat so remember to give the “[ps2id id=’repeat’ target=”/]” number we used before and add it by 1! That is because when we divide a domain by n times we get n+1 numbers and so n+1 curve. you can right click on the “Length” input and choose “expression” and give it a “x+1” value.
We can have our seashell by connecting the output to “Loft” (Surface>Freeform) but let’s have more control on the form by defining a new rotation-scale point. If you make a point in rhino and import it by a “Point” tool (Params>point) you can give it the rotate3d and scales. We can make a new kind of seashell by changing the location of the point.
To have a better control on the rotating-scaling point we can use “Gumball” (Download it Here!). You can drag-and-drop the file into the Grasshopper’s canvas and have it installed! By double clicking on the canvas and searching for gumball you can connect it the the “evaluate Curve’s” output and give it the the rotate3d and scales. by choosing “Gumball” you can move the point freely and make your form. To reset the point, just right click on the “Gumball” and choose clear cache.

In this tutorial, I will be using evaluate curve to produce a seashell geometry. Understanding the curve’s tangent and producing different controllable data with “range” is taught in is this tutorial.

In this Kangaroo Grasshopper tutorial, you’ll learn how to create a differential growth pattern on any mesh surface by projecting
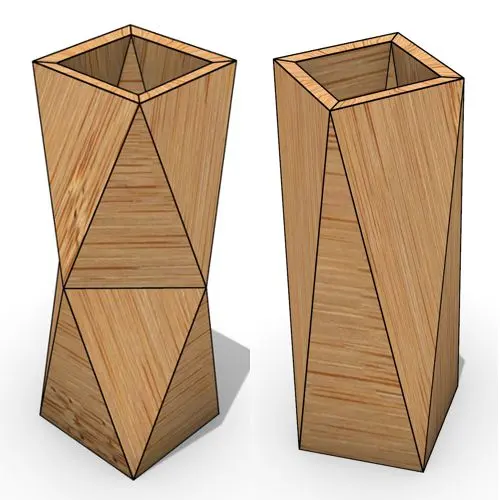
In this Grasshopper beginner tutorial, you’ll learn how to design a parametric vase with triangular faces, fully controllable height, thickness,
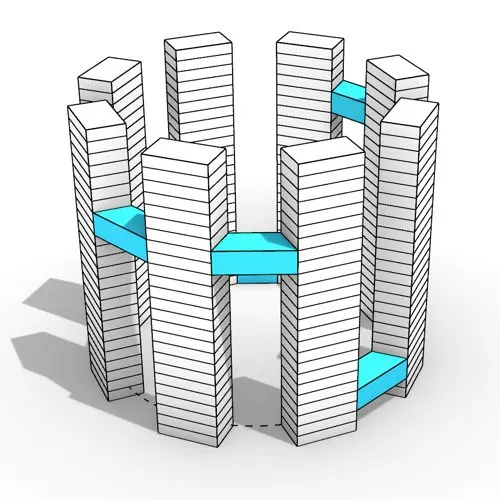
In this Grasshopper tutorial, you’ll learn how to design a series of parametric towers arranged around a curve and connect

In this Grasshopper tutorial, you’ll learn how to design a parametric wall using solid difference and contour techniques.

In this Grasshopper example file, you can model an exoskeleton Mesh structure with entwined curves parametrically.

In this Rhino Grasshopper tutorial for beginners, you’ll learn how to model a parametric Voronoi MultiPipe SubD structure on a
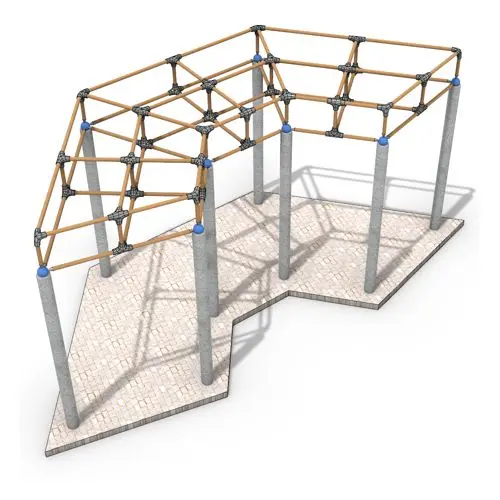
In this Grasshopper tutorial, you’ll learn how to create a simple two-layer Vierendeel space frame structure by defining any four-sided
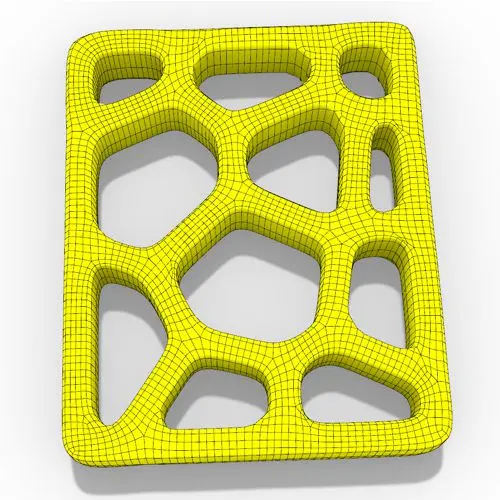
In this Grasshopper Voronoi tutorial, you’ll learn how to create a parametric mesh generated from random or controllable Voronoi cells
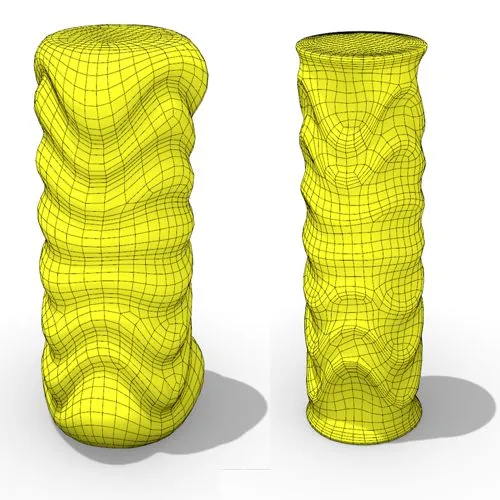
In this Grasshopper tutorial, you’ll learn how to create a dynamic parametric mesh using section curves and Kangaroo physics to
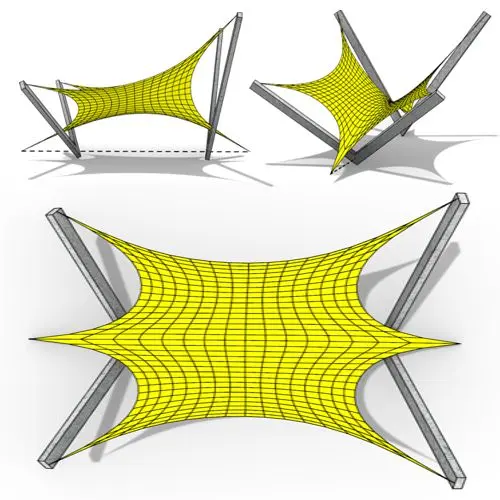
In this Grasshopper Kangaroo tutorial, you’ll learn how to model a parametric tensile structure by defining anchor points, the direction
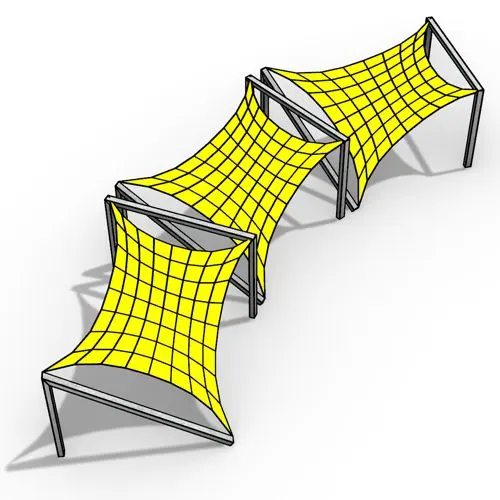
In this Grasshopper Kangaroo tutorial, you’ll learn how to model a series of tensile structures arrayed along any open or

In this Rhino Grasshopper tutorial, you’ll learn how to model a parametric tree-like structure using only native Grasshopper components, with

In this Grasshopper tutorial for beginners, you will learn how to design a parametric tower defined by four control points

In this Grasshopper tutorial for beginners, you will learn how to design a parametric facade composed of modular openings.
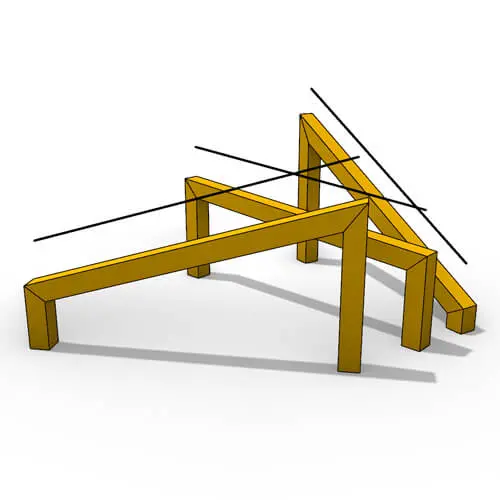
In this Grasshopper tutorial because we know how to convert a series of lines to a frame now we can
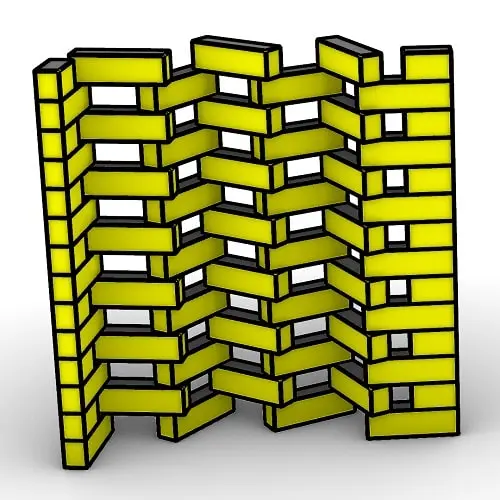
In this Rhino Grasshopper Script, you can model a parametric brick wall by defining a base curve

In this Grasshopper Python Lesson, we are going to talk more about the basics and how to use Print and
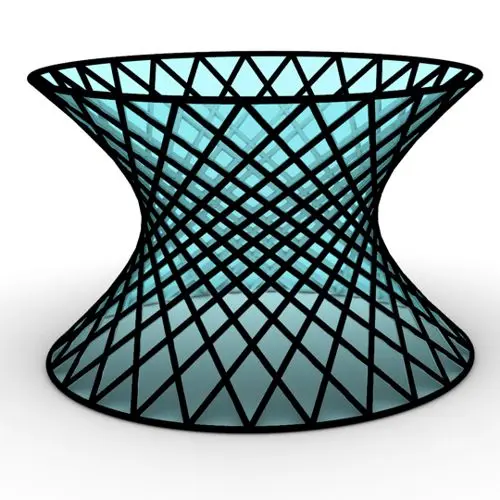
In this Rhino Grasshopper Tutorial we are going to learn how to make a series of rotating lines around two
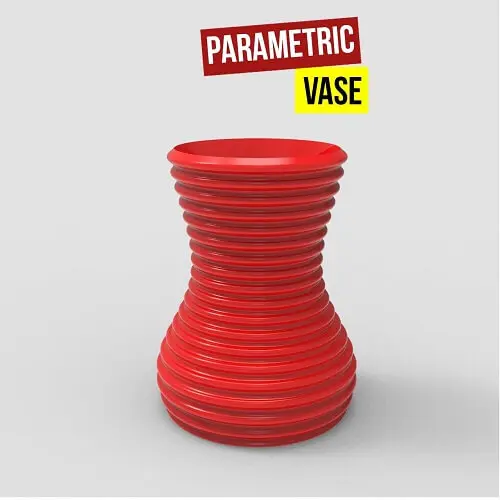
In this Paracourse Lesson (25 Minutes), You can learn how to model a parametric vase by using a Perlin Noise

In this Grasshopper lesson, I will talk about managing output data with a turning tower example. First I,m going to

In the introductory lesson, we’ll explore the Grasshopper 1.0 canvas and familiarize ourselves with its fundamental features.
Now we have learned the basics of the canvas we will take a look at the most important aspect of
Now we will learn how to manage data with more tools like list length , partition list and simplify.
After learning about the Partition list, it’s time to learn how to destroy the data trees with flatten and also

In this Grasshopper example file, you can design a parametric facade with variable-thickness hexagonal cells.

In this Grasshopper example file, you can model and simulate a parametric facade with free-form openings using the mesh relaxation
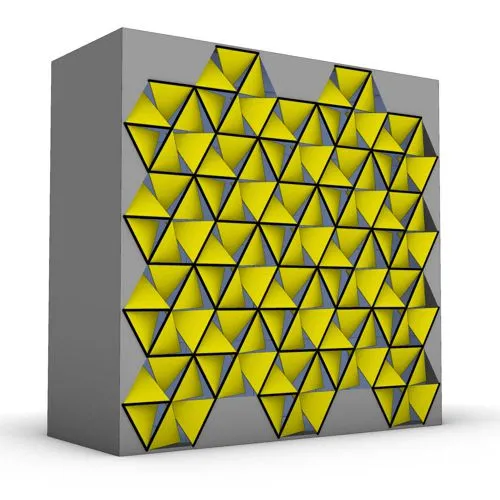
In this grasshopper example file, you can use a hexagonal module to model a parametric facade.
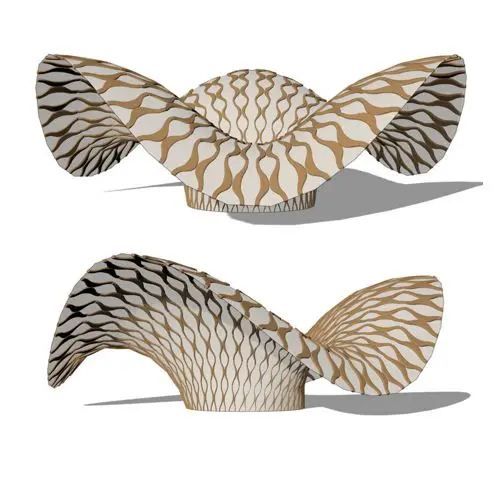
In this grasshopper example file, you can use the morph components to apply a 3d wave pattern on a mesh.

In these Grasshopper example files, you can design a parametric geodesic dome with customizable openings, generate optimized tower forms using

In this Grasshopper example file, you can create relaxing Voronoi cells on a facade , a blobby form with a
Parametric Ideas for Architects @2025
This tutorial or example file is exclusive to Paracourse Members.
Paracourse is an extensive library of video tutorials and example files, designed to guide you through your parametric design journey. With over 1,500 open example files & 600 Video Tutorials, you can freely edit and adapt them for your projects—no credit required.

Learn parametric design from scratch with over 100 hours of step-by-step tutorials, covering beginner to intermediate levels. Master components and their use in the design process.

Explore our open-to-edit .gh files to see how each subject is designed parametrically using Grasshopper3D. Freely adapt them for your projects—no credit required.

Delve into complete algorithms with our advanced tutorials. Learn the logic behind each step, understand how the parts work together, and see how to apply them effectively in your designs.
Grasshopper empowers architects and designers to create sophisticated, customizable designs with ease.
Architects, industrial designers, artists, and anyone passionate about parametric design will find value in this course.
With diverse tutorials and open example files, you’ll have everything you need to tackle any design challenge.
Mastering Grasshopper with Paracourse can significantly enhance your career prospects.
Reviews
There are no reviews yet.