Geometric Hanging Light
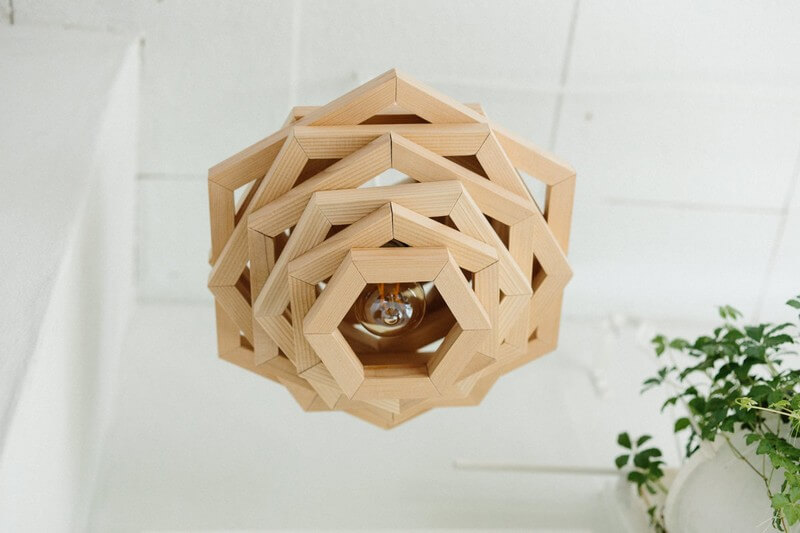
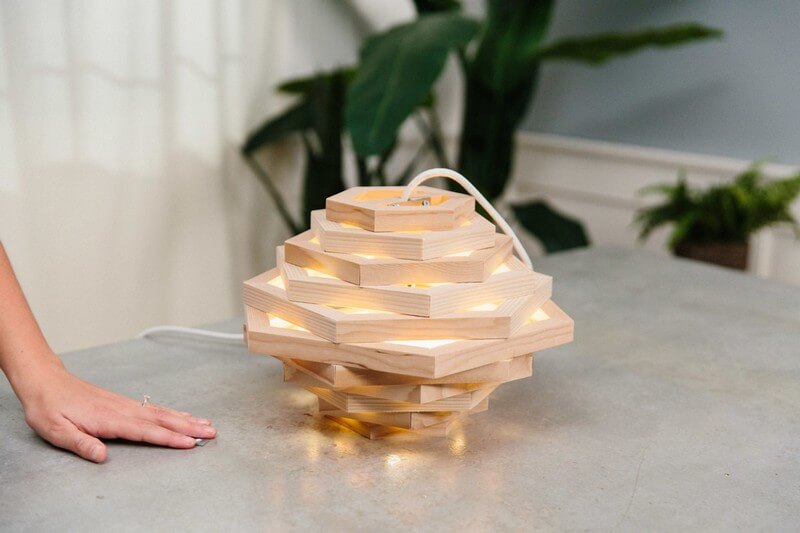
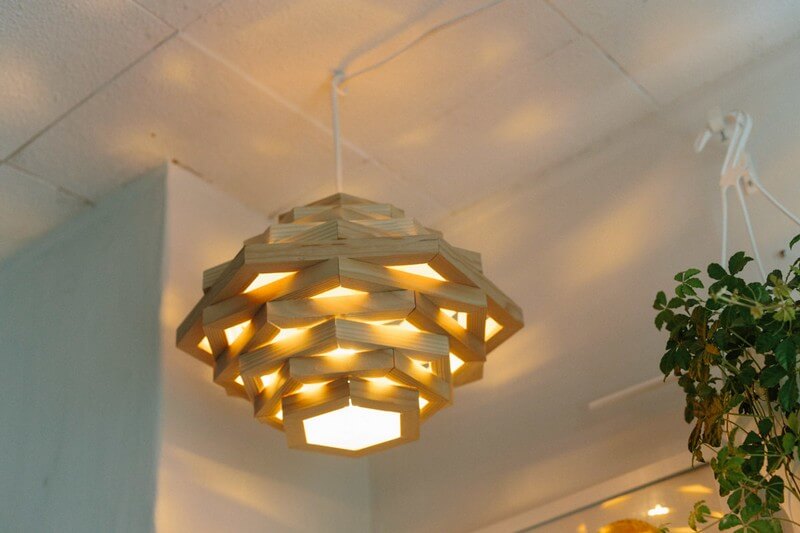
The goal of this project by Kirsten Dunn was to create a light fixture that functioned as another light source but she also wanted it to be really versatile, rather than custom-built for one specific place in her home. This fixture has a unique design and look to it—it adds to the aesthetic of a room, even when it’s not turned on. You can place it in a variety of places: over a table in the center of the room, hanging from the ceiling in a corner to add visual interest higher up, or hanging outside, from a tree branch, for an evening summer party.
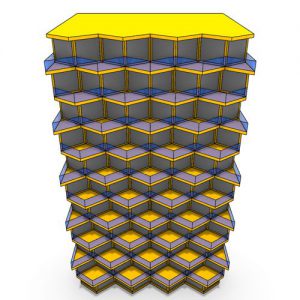
First, cut all 11 of the hexagon tiers out of the square moulding. Tiers one through five will get progressively larger, tier six will be the largest, and tiers seven through 11 will be the same as the first five, but in descending order (so, it’ll look symmetrical).
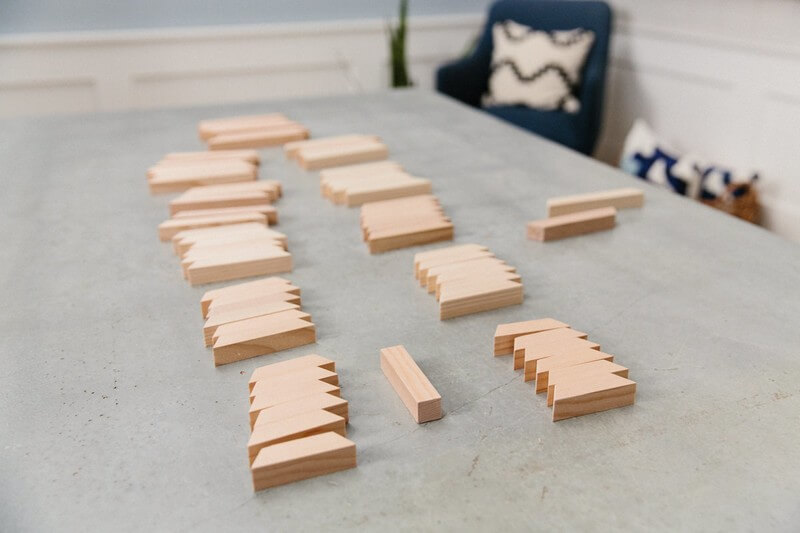
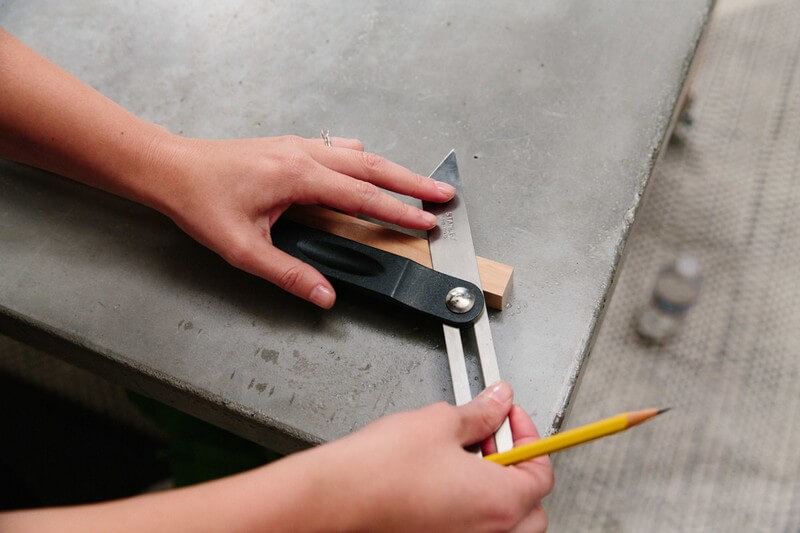
Use a handsaw or a power saw to make your cuts. Cut six pieces for each tier with opposing 30° angles (measure each piece from outside point to outside point). You can use an angle finder or a speed square to find and mark angles.
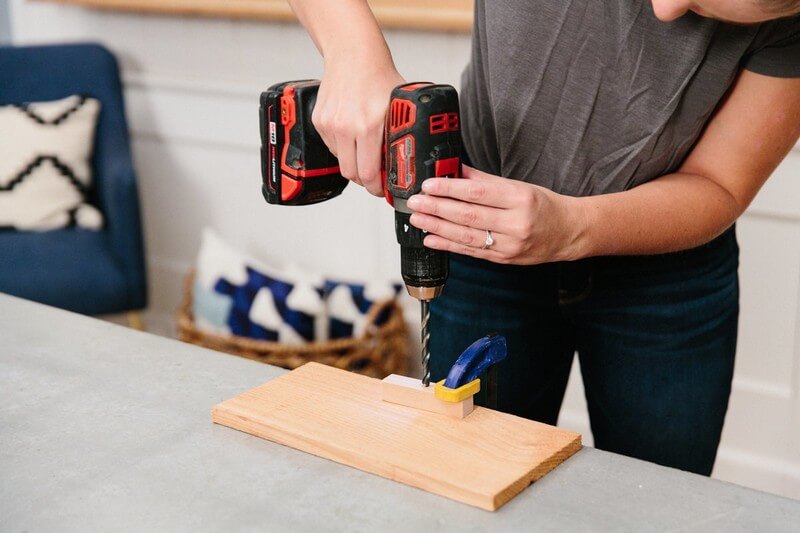
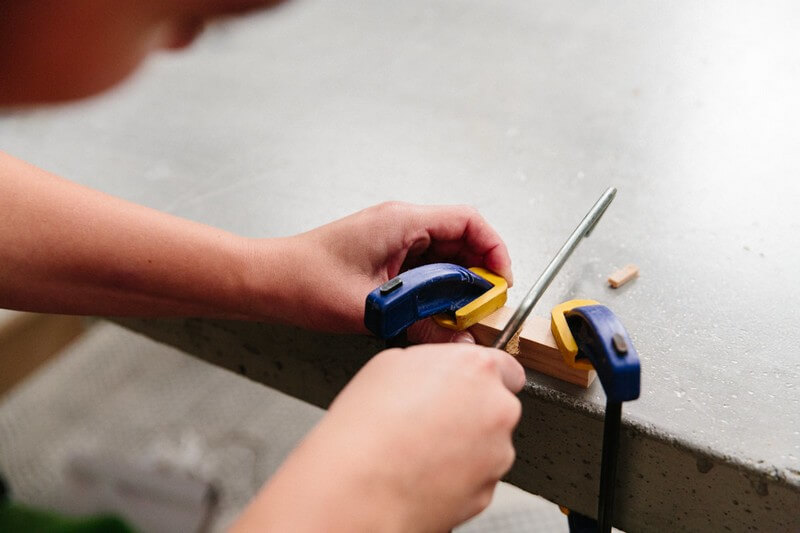
Sand the cut pieces with 150-grit sandpaper or a fine/medium sanding sponge. (Pay special attention to cut ends and sharp edges, which have a tendency to splinter. Clamp down the straight piece on top of a piece of scrap wood. With a 9/32” drill bit, drill a hole into the middle of the straight piece. Draw lines with a square from the side of the circle to the edge of the moulding. Cut a channel to the hole with a hand saw. This channel will fit the cord for the light.
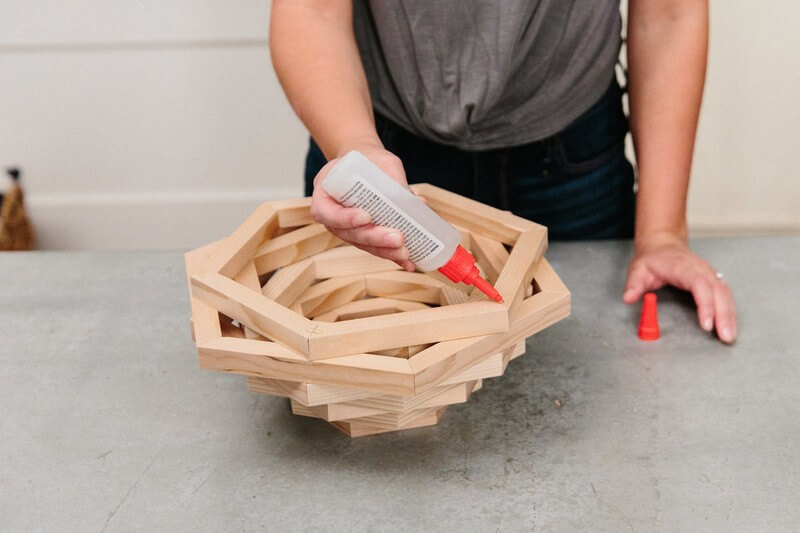
Glue each tier together into a hexagon and allow to dry. Designer used a fast-drying wood glue to speed up this process. Glue the straight piece inside one of the smallest tiers. This will now be the top tier.
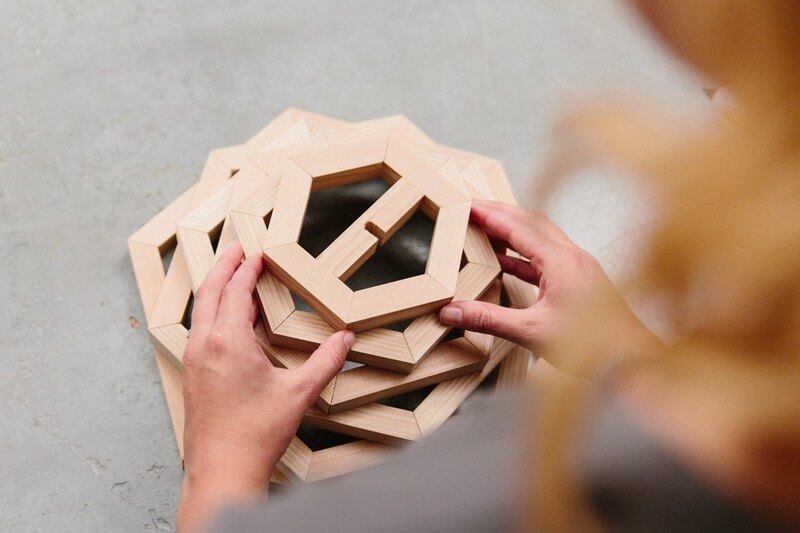
Glue the constructed tiers to each other, starting from the middle (tier six) and going up, offsetting the direction of each hexagon. Glue the bottom half together upside-down (with tier seven on the bottom). Once both of the sides are dry, glue them together.
Feed the lamp cord up through the bottom of the fixture, and fit the cord into the channel at the top. Use a small metal plate (or a mending plate) to cover the channel so the light bulb can’t slip out.
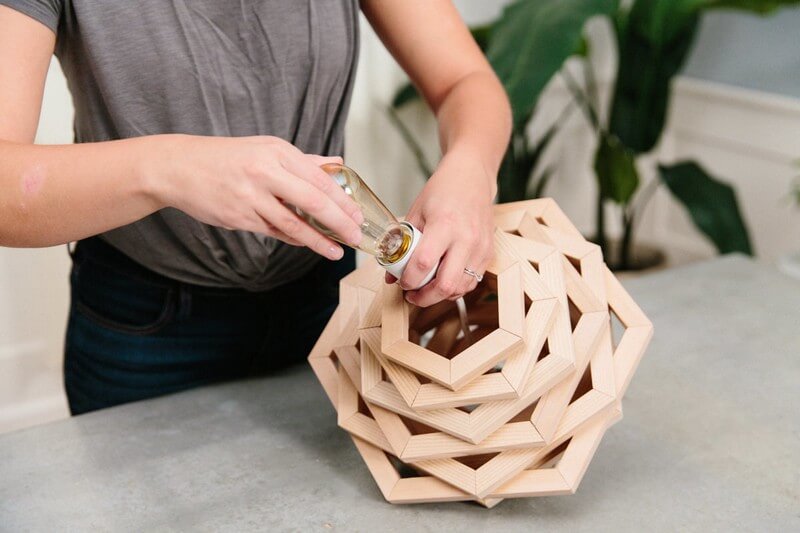
It’s important the light be LED, because the wood is so close to the light. An incandescent bulb could give off too much heat, but an LED light stays nice and cool (and safe!). Flip your light, and you’re done! Go ahead and hang your new light fixture anywhere it can bring a little warmth and design appeal to your space. Enjoy it with the light turned on or off—both will add to the ambiance.







Comments