
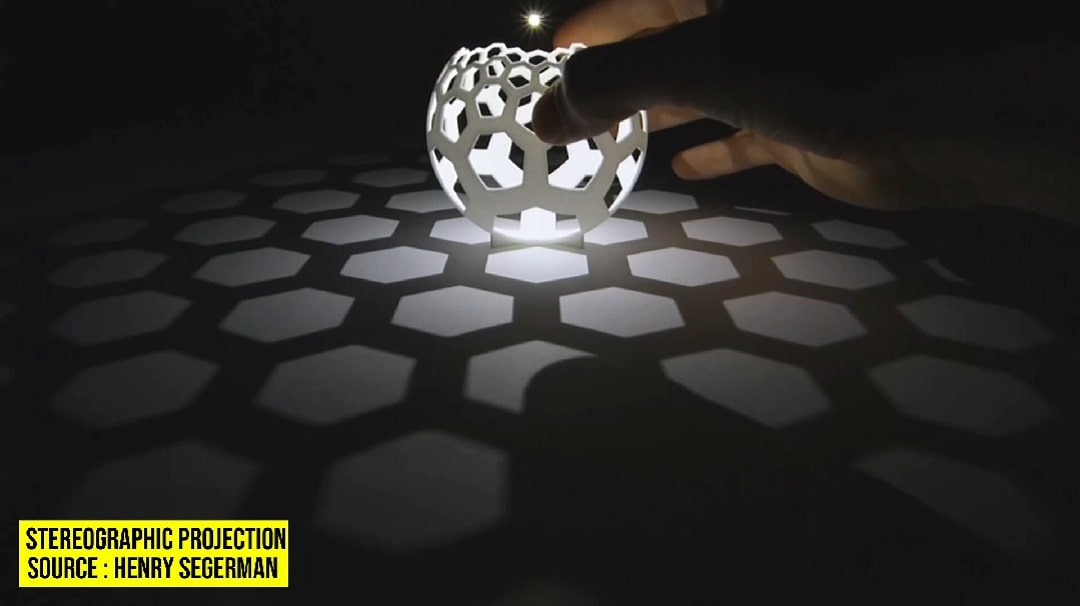
Stereographic Projection
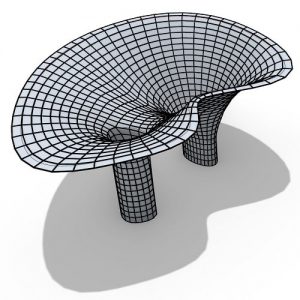
In this Rhino Grasshopper Tutorial, we are going to talk about Stereographic Projection. First, we will take a look at different projects related to Stereographic Projection and then we will model a parametric pattern in Grasshopper step-by-step and from scratch.
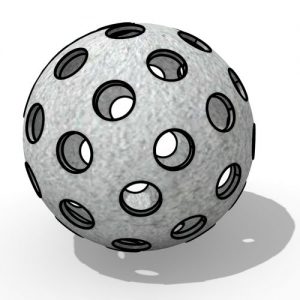
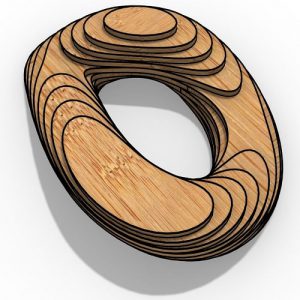
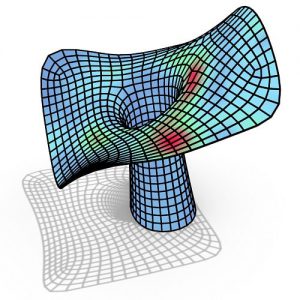
In geometry, the stereographic projection is a particular mapping that projects a sphere onto a plane.
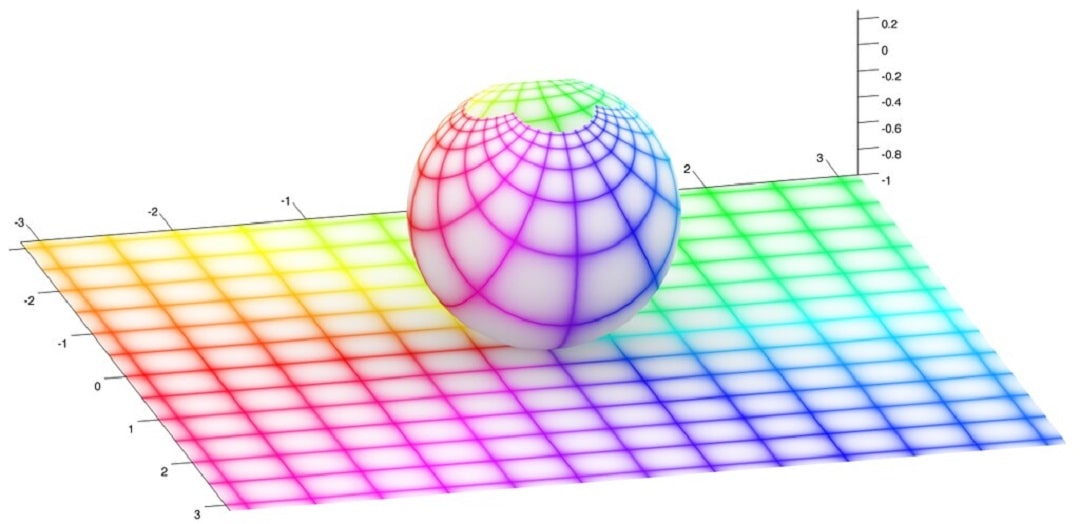
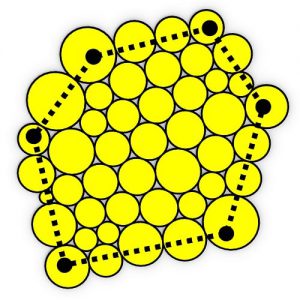
But actually, you can project any pattern from a base surface (even if it’s not a sphere) onto the floor and call it a stereographic projection.
To get the final results we have to take 3 steps and look at the problem backward.
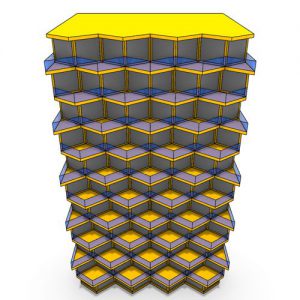
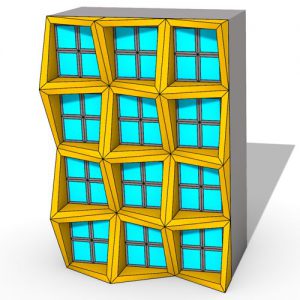
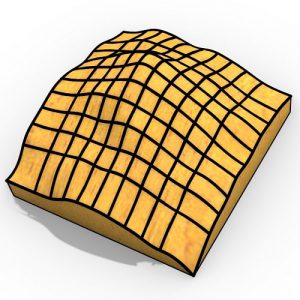
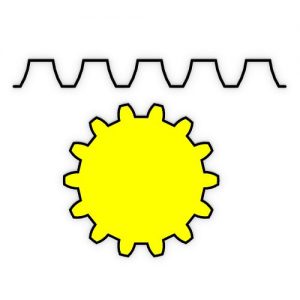
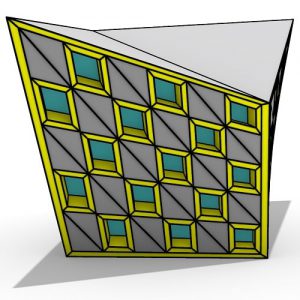
First, we have to define which pattern we want to project on the ground. In this grasshopper Tutorial, we have used a simple square grid pattern.
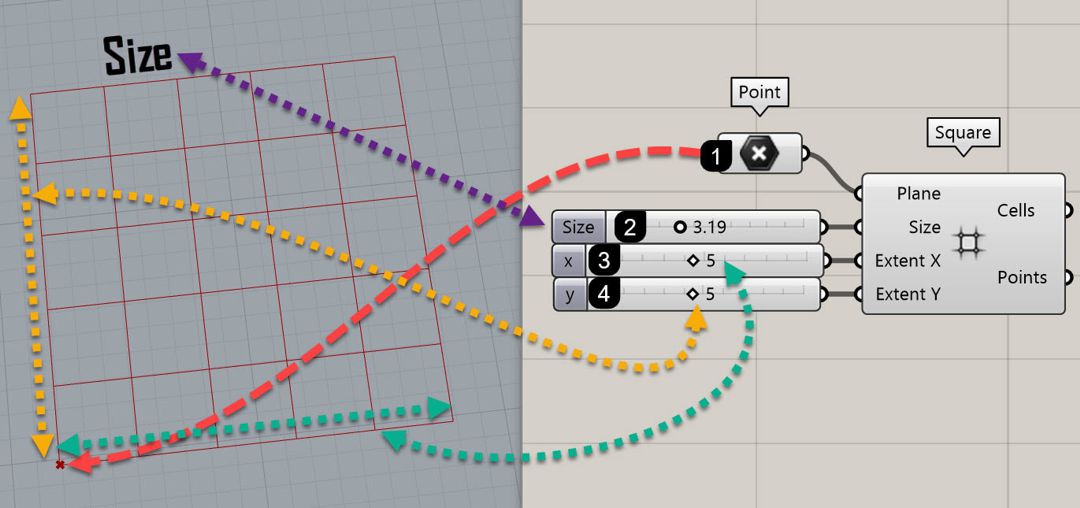
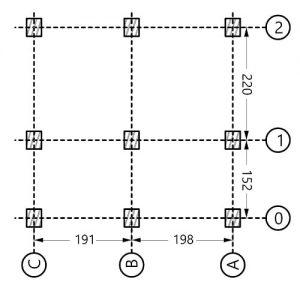
Go to the “Vector” menu and select the “Square” Component from the “Grid” Submenu.
Give a point to the Plane input. This trick will convert the point into the center of an XY plane.
Finally give number sliders to the Size for the size of the grid cells, Extent X for the number of cells in the X direction, and Extent Y for the number of cells in the Y direction.
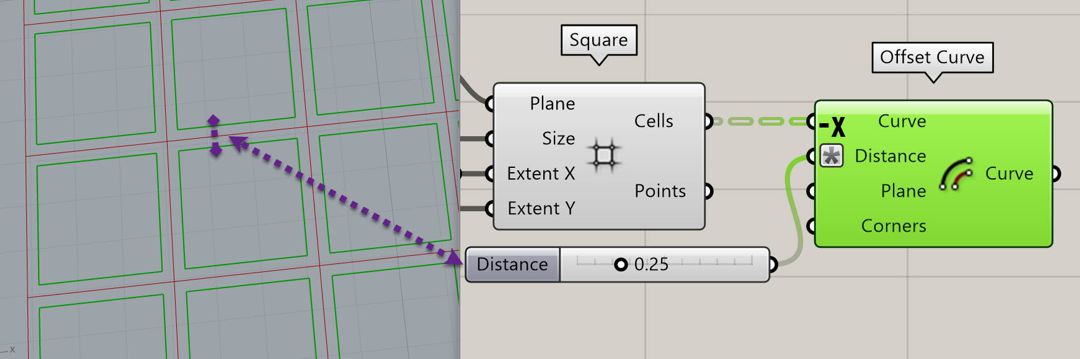
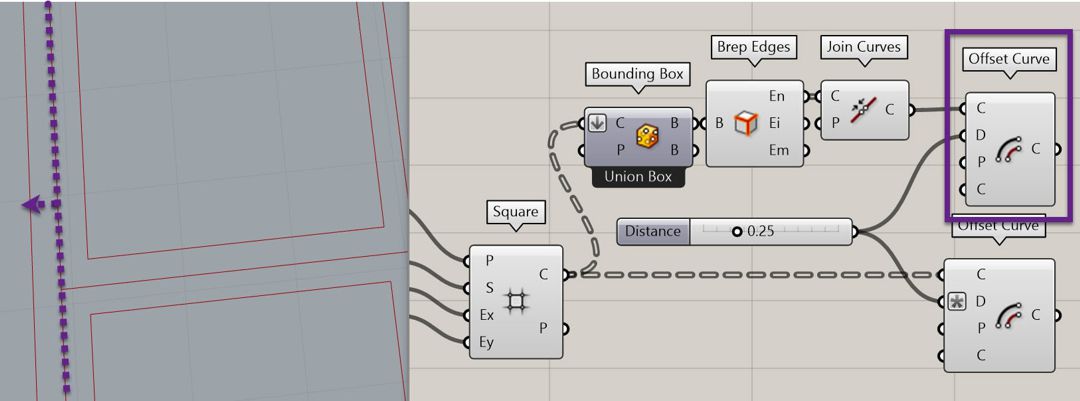
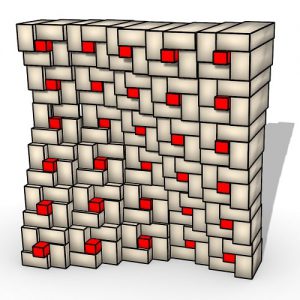
The next step is to offset the square cells inwards so we can give the shadow some thickness. the “Offset Curve” component from the “Curve” menu and the “Util” submenu can do this. Be sure to give an “-x” in the expression of the “Distance” input so the curves don’t offset outwards.
To have the same thickness at the borders we can get the “Bounding box” of the cells (Flatten so the inputs go into one single group)and select the “Union Box” which can be reached by right-clicking on the component.
Then extract the edge of the single bounding box with “Brep Edges” and join them to form a rectangle. Finally, offset it with the same distance to get the result.
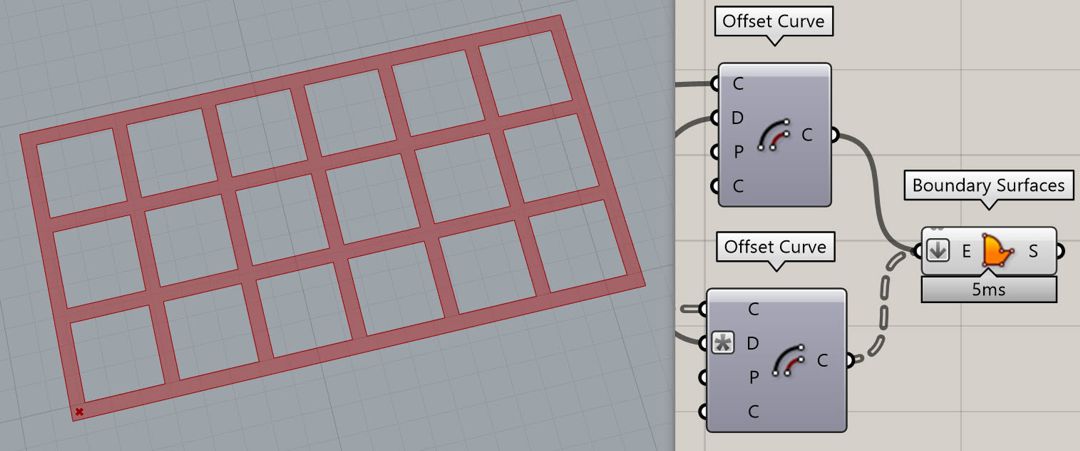
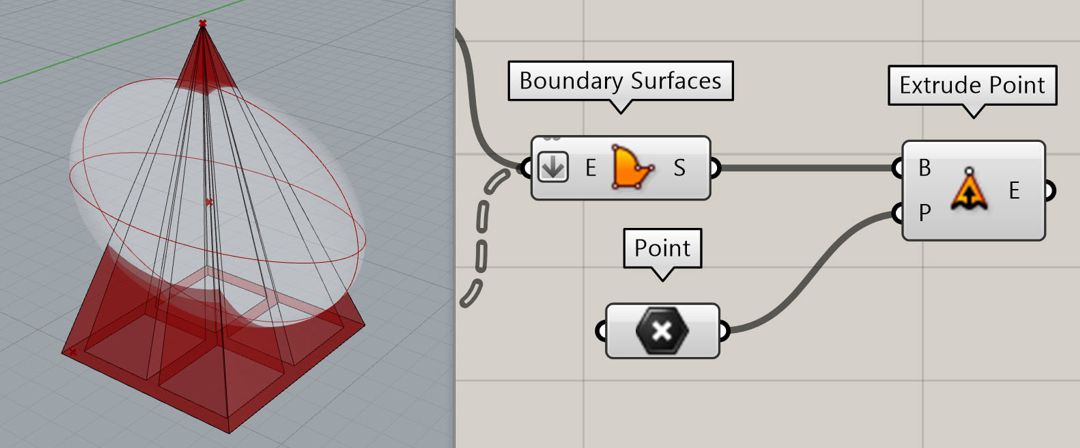
After offsetting the border and the cells we can use the “Boundary Surfaces” component to convert them into a single surface.
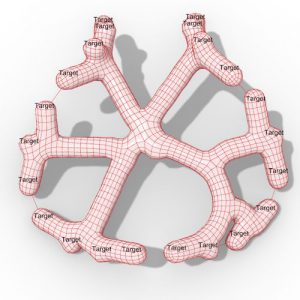
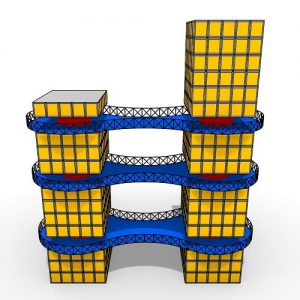
Now it’s time to define a parametric base surface for the projection. This surface will define the curvature of the final form. For this example and to make it as simple as possible we have used a parametric sphere. First, we will use the “Sphere” component and give it a center and radius.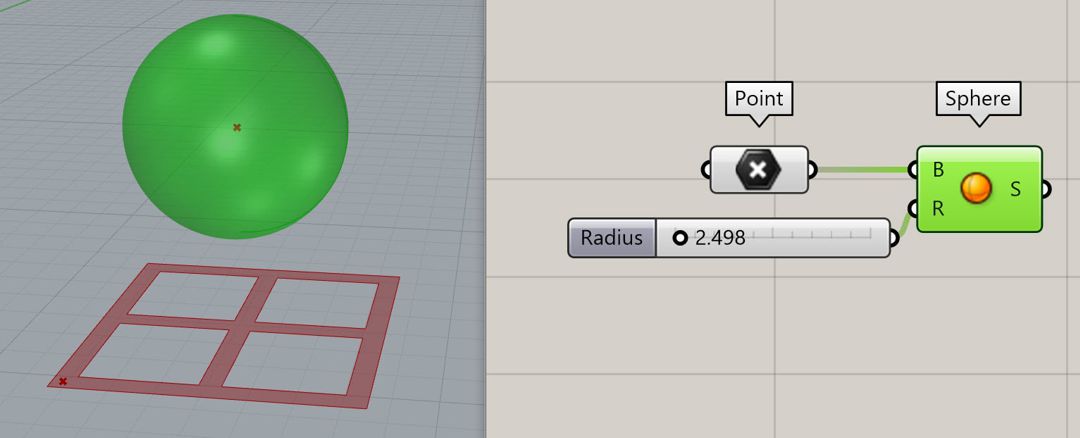
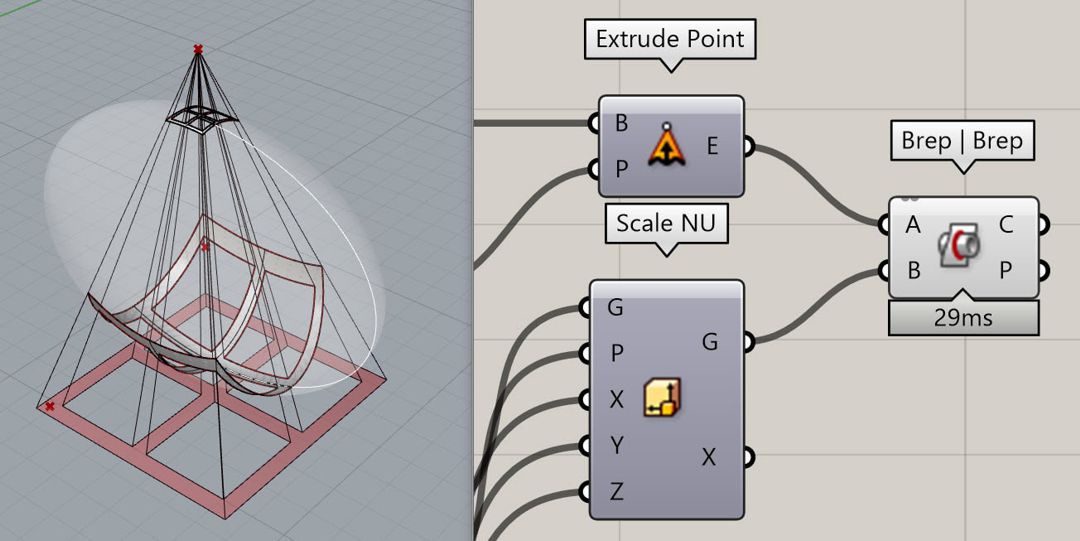
Now we can use the “Scale NU” component to scale the sphere in X, Y, and Z directions differently. This will give us more control over the final result.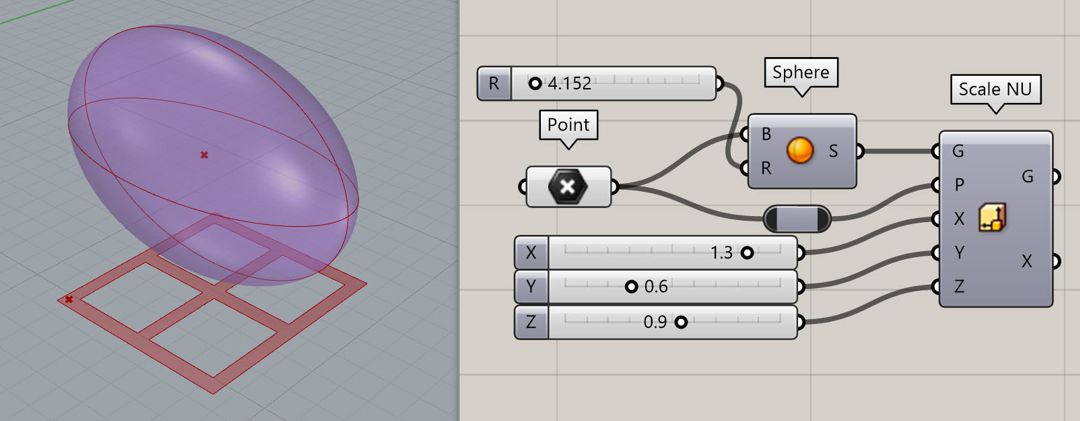
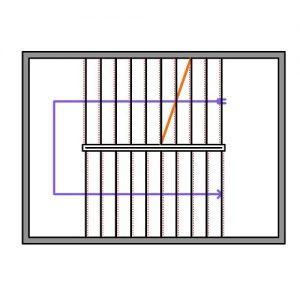
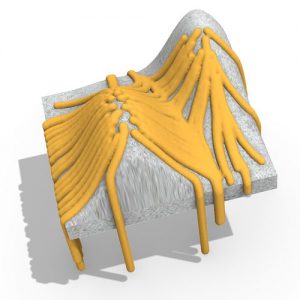
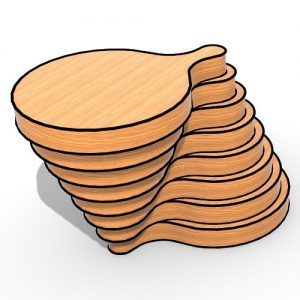
To find out which form produces the desired shadow we can extrude the shadow to a point using the “Extrude Point” component.
And then intersect it with the base surface using the “Brep / Brep” component.
Because sometimes there will be two sets of intersection curves we have to take additional steps to pick up the lower part but basically, we can always split the base surface with the curves by using the “Surface Split” Component.
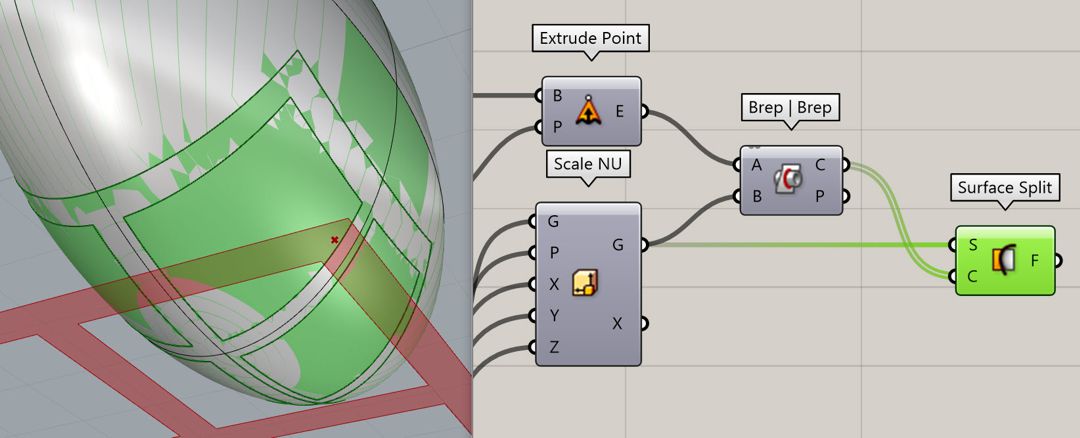
Because there will be different results when you use the “Surface Split” we have explained one or two ways of selecting the final results in the video tutorial.


Comments