
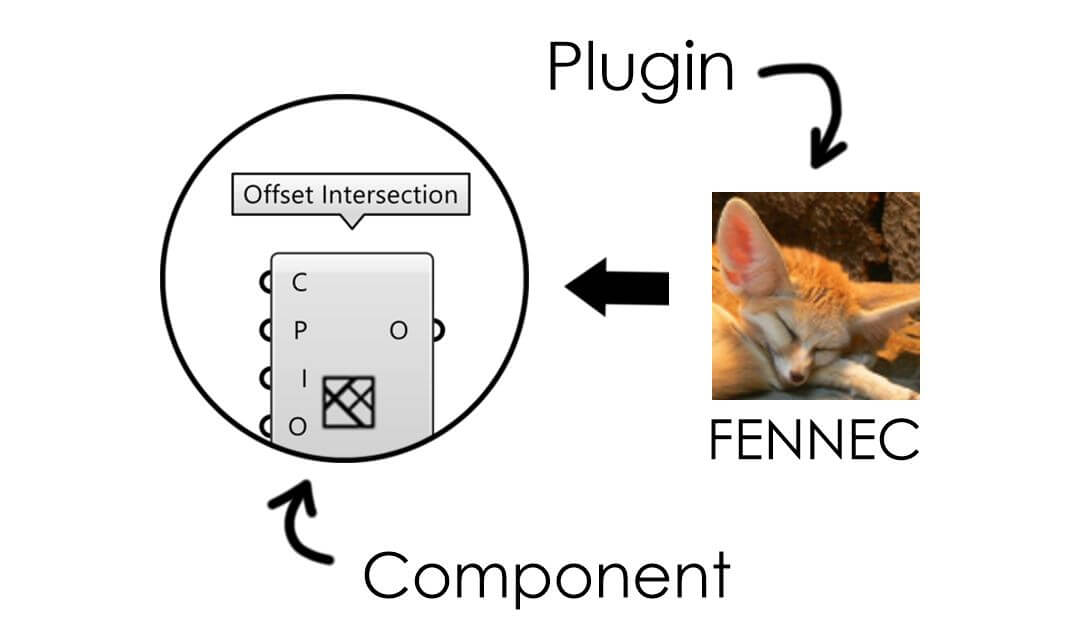
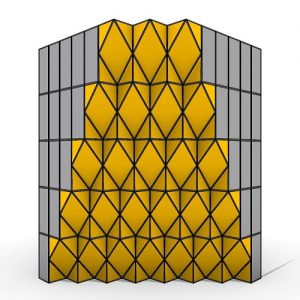
Offset Intersection
In this Grasshopper tutorial we will learn how to make an offset from a series of curves. We will use the “Offset intersection” component from the Fennec Plugin.
Tutor : Mohammad Yazdi
You can access and download the plugins utilized in this tutorial from the end of this page.
🎓Download Lesson 1
Watch the Youtube Video
Duration : 8 Mins
Duration : 4 Mins
Grasshopper Tutorial: Understanding the Offset Operation Using the Fennec Plugin
Welcome to our in-depth tutorial on how to execute an offset operation on a series of curves using Grasshopper! The ability to offset curves is essential for numerous architectural and design applications. Here, we’ll harness the “Offset Intersection” component available in the Fennec Plugin.

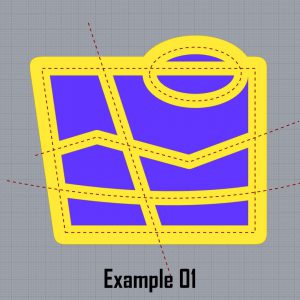
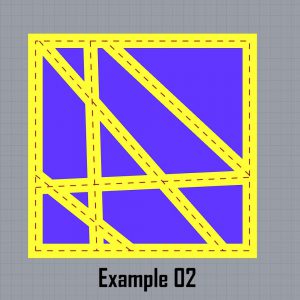
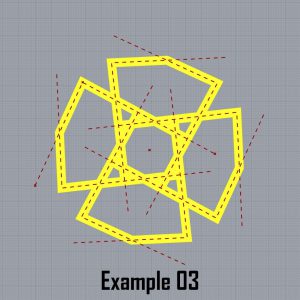
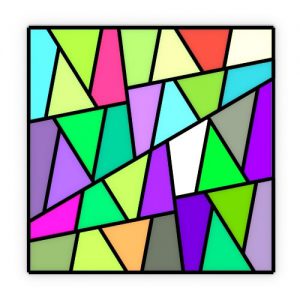
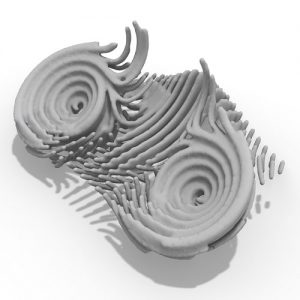
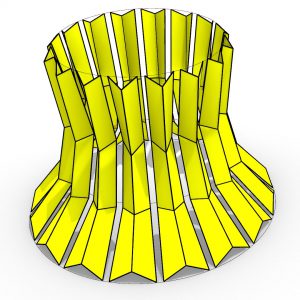
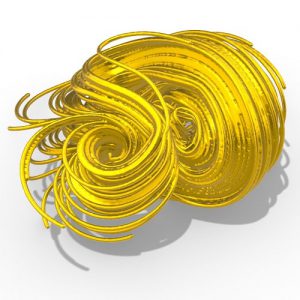
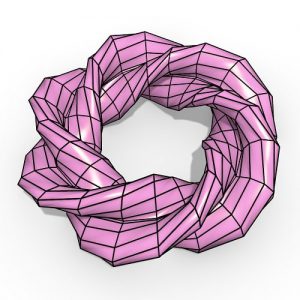
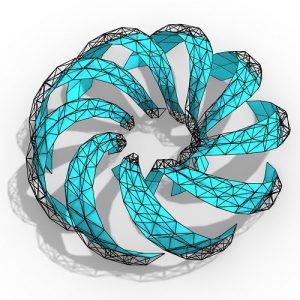
1. Introduction to Offset Intersection in Fennec Plugin: The “Offset Intersection” is a valuable component in the Fennec Plugin that enables users to create inner and outer offsets from a given set of curves. Here’s how to use it:
2. Setting Up Your Curves:
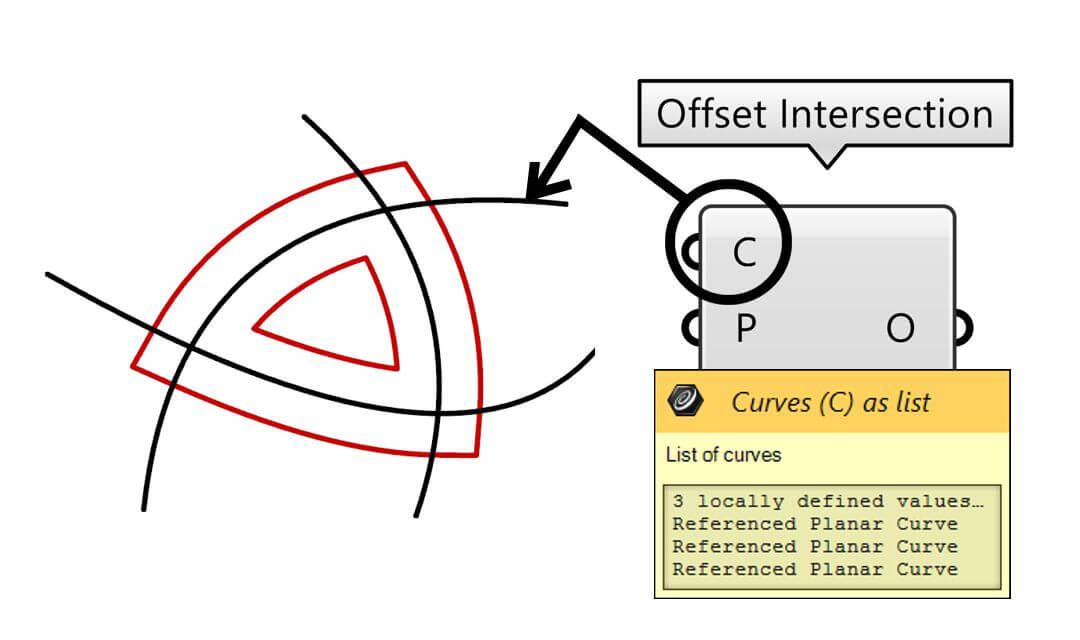
- C Input: This is where you’ll plug in the series of curves you’re aiming to offset. Think of these as your base shapes or patterns from which you want to create variations.
3. Determining Your Offset Distances:
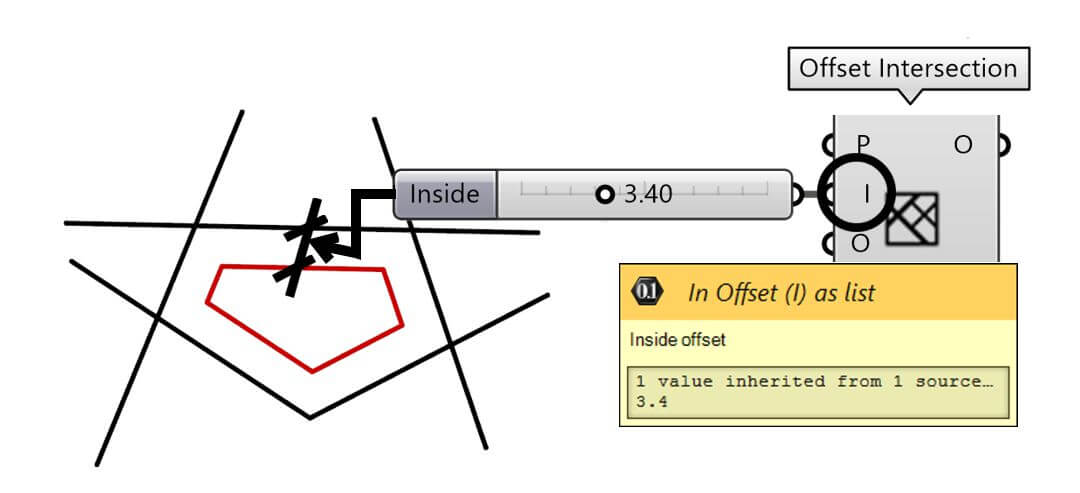
- I Input: This is the distance for the inner offset. By specifying a distance here, you’ll determine how far the inner curves will be created in relation to the original ones.
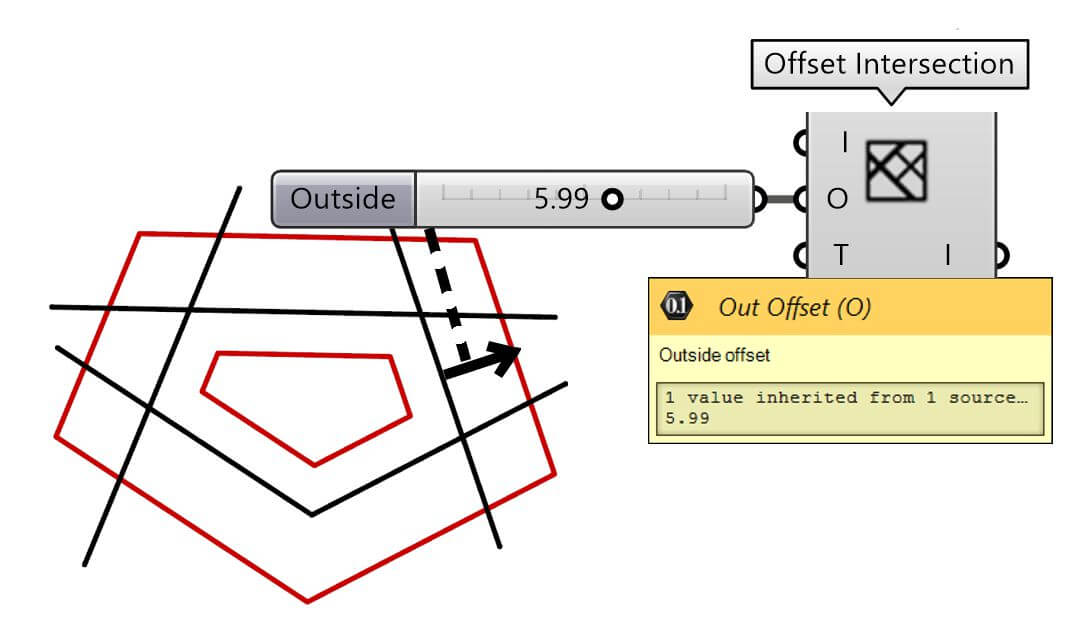
- O Input: Contrarily, this is the distance for the outer offset. Adjusting this input modifies how far the resultant outer curves deviate from the original set.
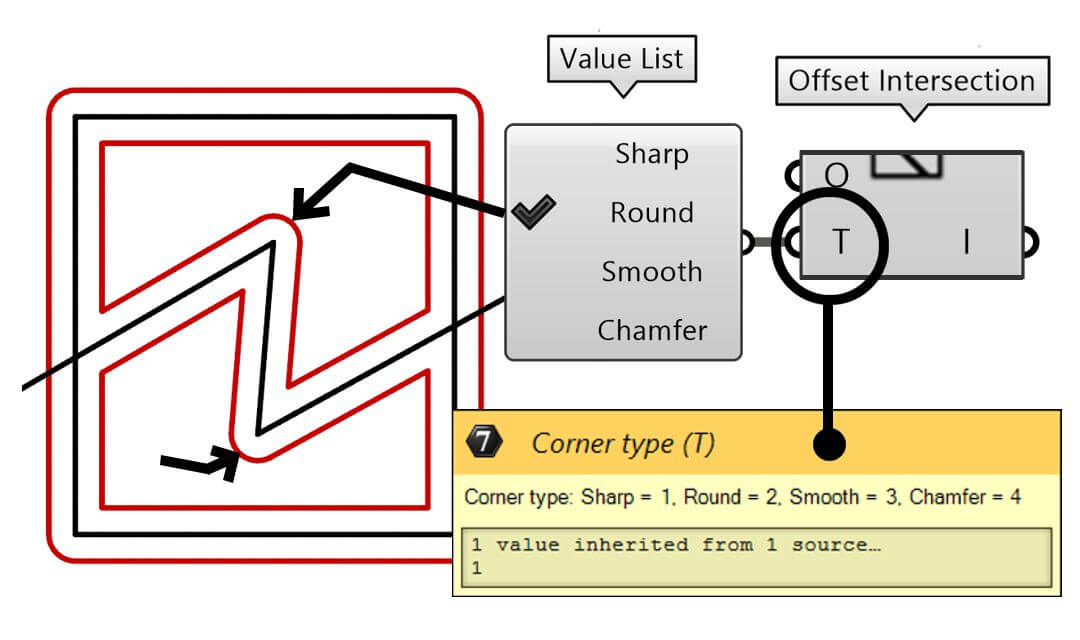
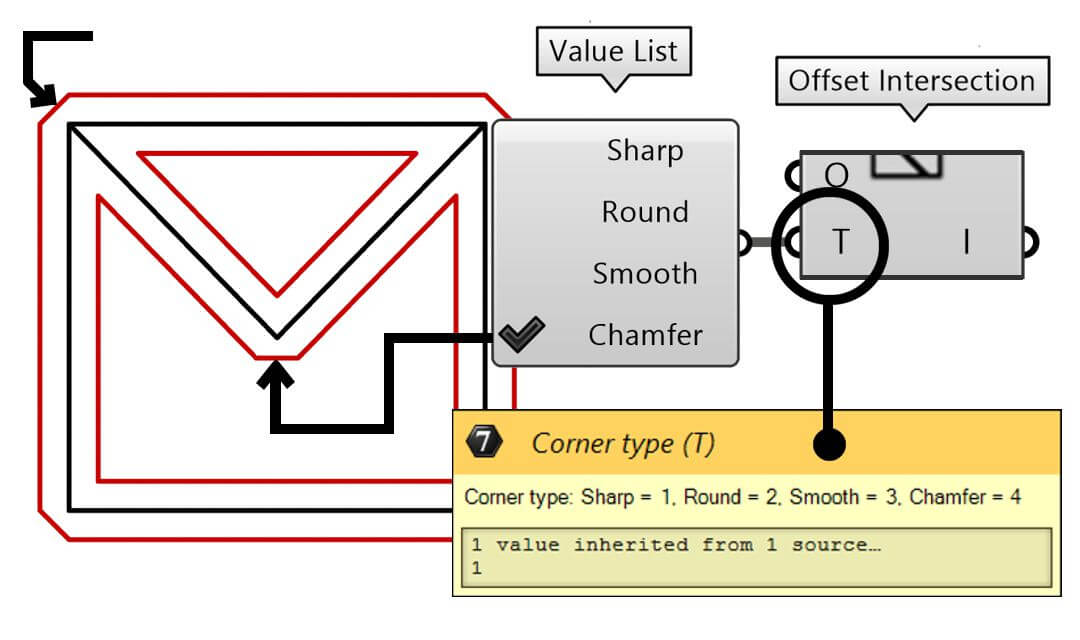
4. Fine-tuning the Corners of the Offset Curves:
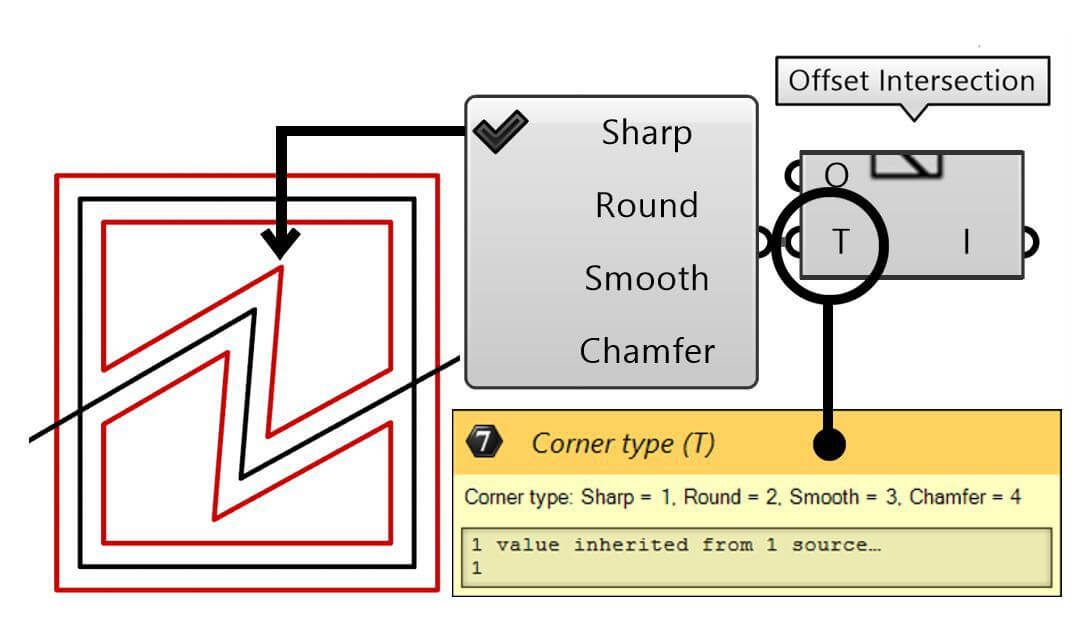
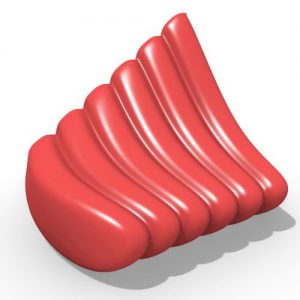
- T Input: After offsetting your curves, the corners’ appearance can be crucial in achieving the desired effect. With this input, you can define the type of corners you want. There are four options to choose from:
- Sharp Corners: This keeps the corners pointed and angular.
- Round Corners: This applies a circular fillet, making the corners rounded.
- Smooth Fillet: For those looking for a gentler transition, this creates a smoother fillet on the corners.
- Chamfered Corners: This will trim off the corner, giving it a beveled appearance.
5. Controlling the Intersection Regions:
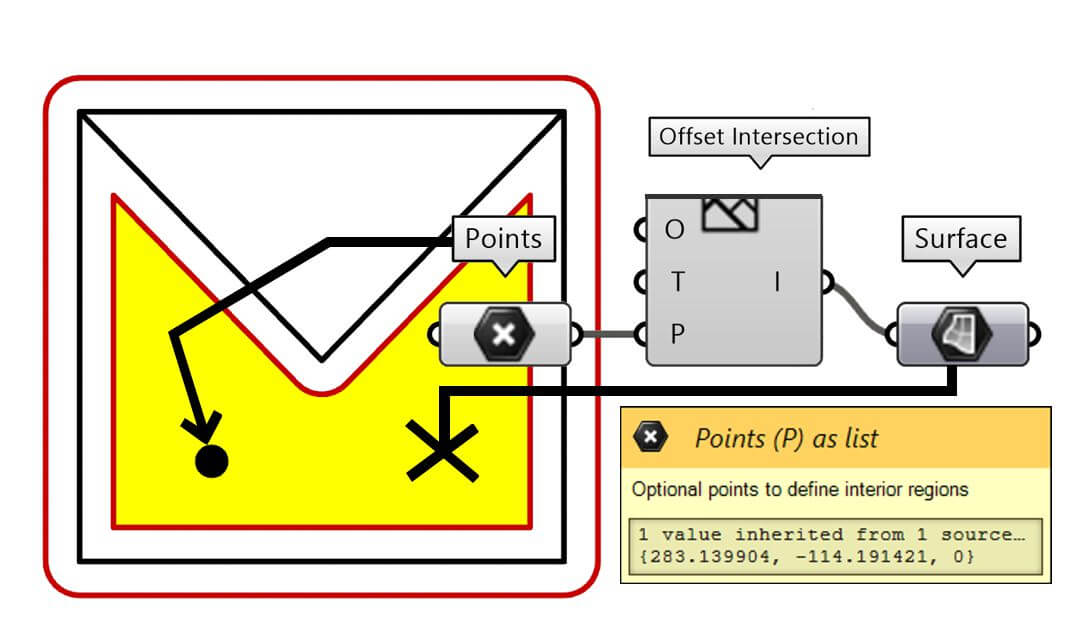
- P Input: This is a particularly vital input if you want more intricate control over the regions inside the intersections. By manipulating this input, you can extract and manage specific regions, giving you greater flexibility in design outcomes.
6. Retrieving Your Offset Results:
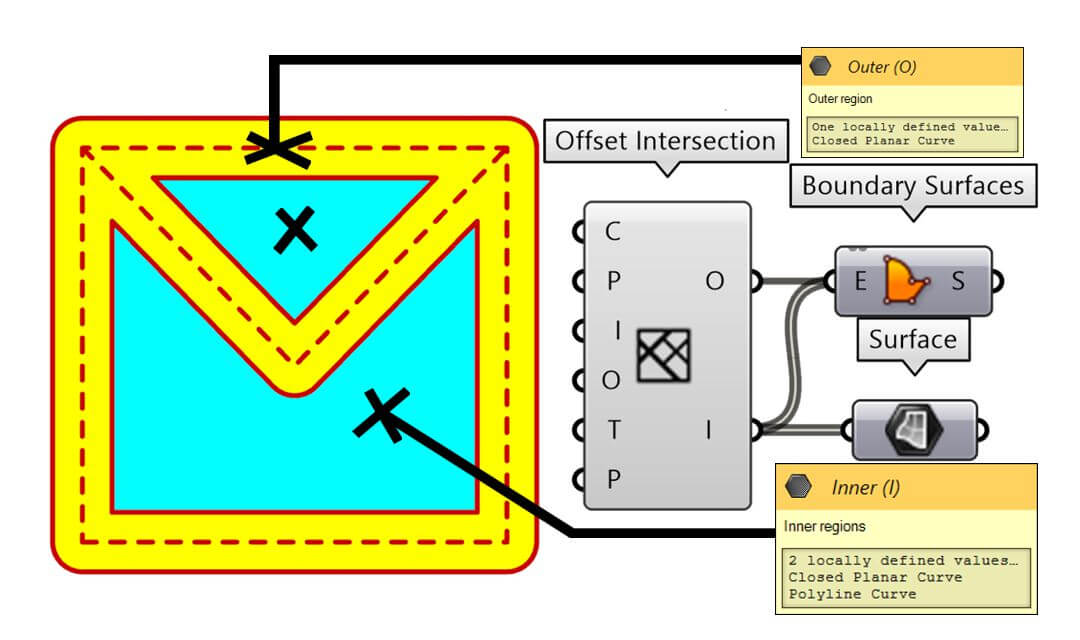
- O and I Outputs: Once all inputs are set, these outputs will showcase the resultant regions. The ‘O’ output displays the outer regions, whereas the ‘I’ output presents the inner regions. These results are derived after processing the offset on the initial set of curves.
In conclusion, mastering the “Offset Intersection” component in the Fennec Plugin can significantly enhance your Grasshopper offset operations. By understanding and adjusting each input, you can achieve varied and nuanced design outcomes tailored to your project’s specific needs. We hope this expanded guide assists you in your design endeavors!


Comments