
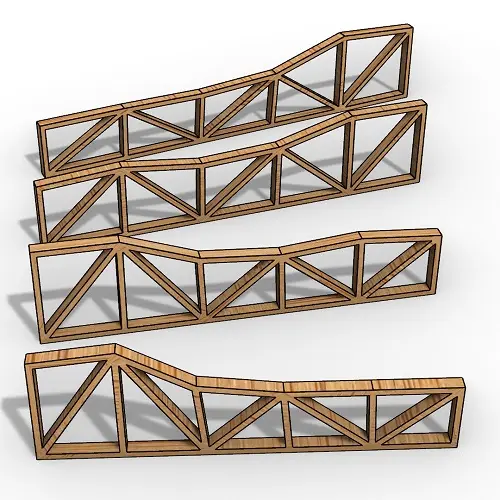
Parametric Truss
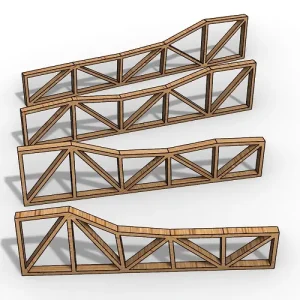
In this Rhino Grasshopper tutorial for beginners, you can learn how to model a series of parametric trusses from a
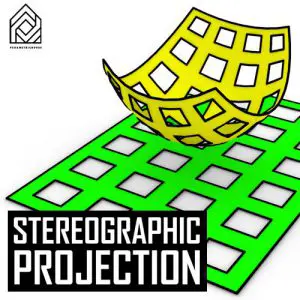
In this Rhino Grasshopper tutorial for beginners, you can learn how to model a series of parametric trusses from a
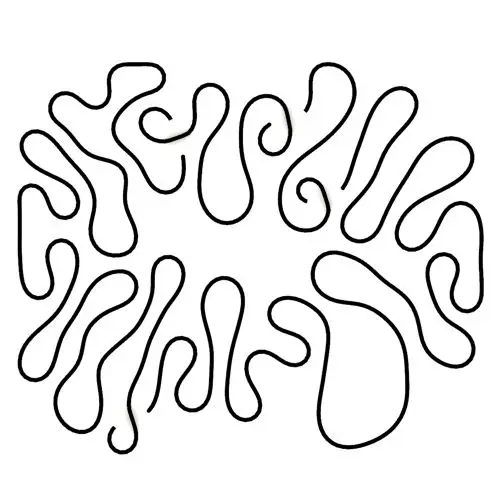
In this Kangaroo Grasshopper tutorial, you’ll learn how to create a differential growth pattern on any mesh surface by projecting
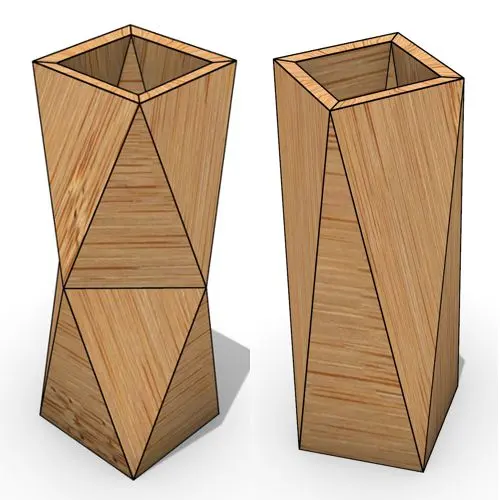
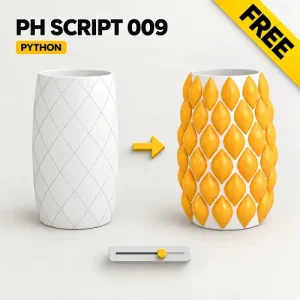
In this Grasshopper beginner tutorial, you’ll learn how to design a parametric vase with triangular faces, fully controllable height, thickness,
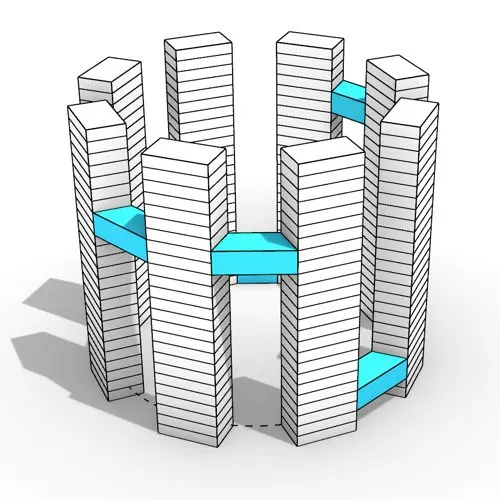
In this Grasshopper tutorial, you’ll learn how to design a series of parametric towers arranged around a curve and connect

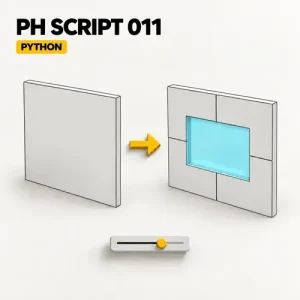
In this Grasshopper tutorial, you’ll learn how to design a parametric wall using solid difference and contour techniques.

In this Grasshopper example file, you can model an exoskeleton Mesh structure with entwined curves parametrically.
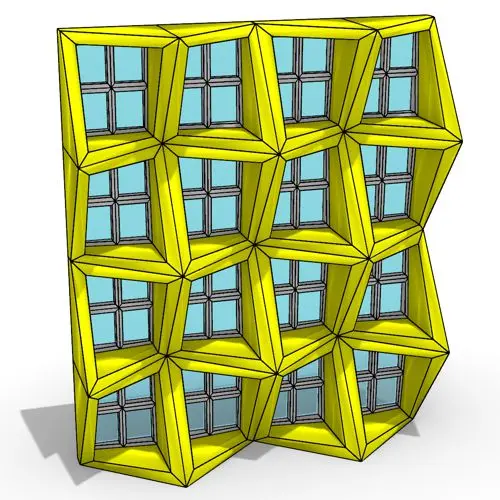
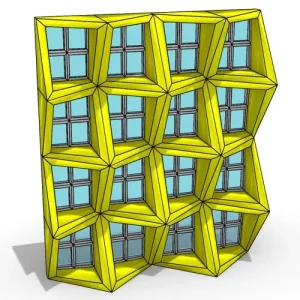
In this Rhino Grasshopper tutorial, you can model a parametric facade by defining a movement pattern and adjusting the frame
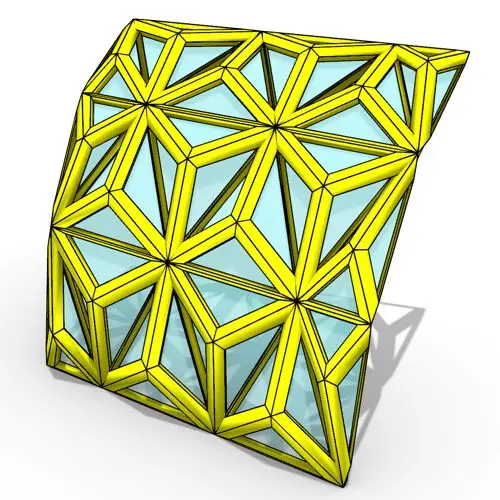
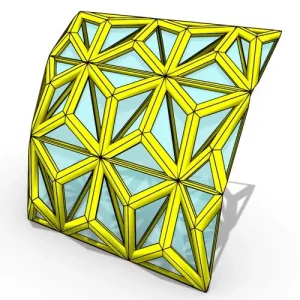
In this Rhino Grasshopper tutorial, you will learn how to create a series of triangular paneling on a Nurbs surface
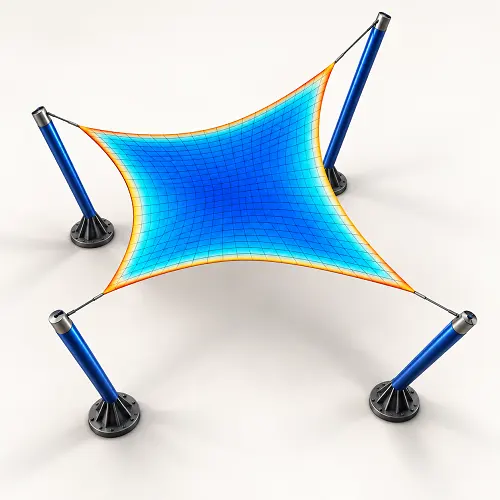
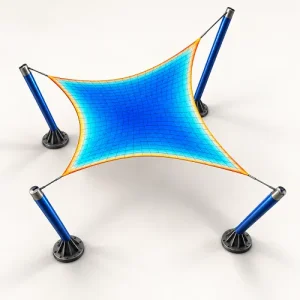
In this Grasshopper Galapagos tutorial, you will learn how to model a Hyperbolic Paraboloid tensile canopy and use the “Structural
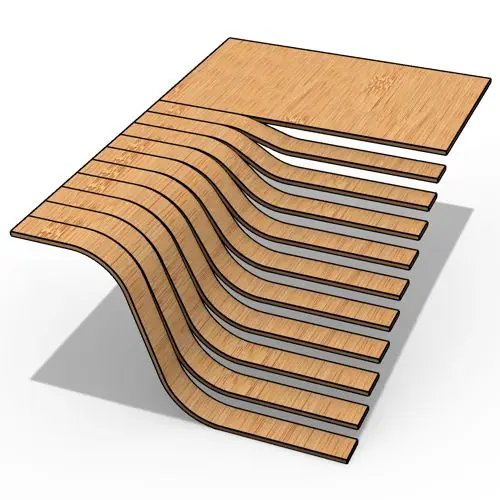
In this Rhino Grasshopper tutorial, you will learn how to build a parametric staircase using just four control points and
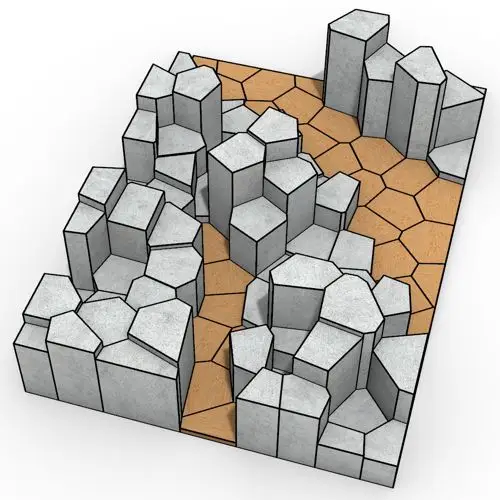
In this Rhino Grasshopper tutorial, you will learn how to create a series of randomly extruded voronoi cells and then
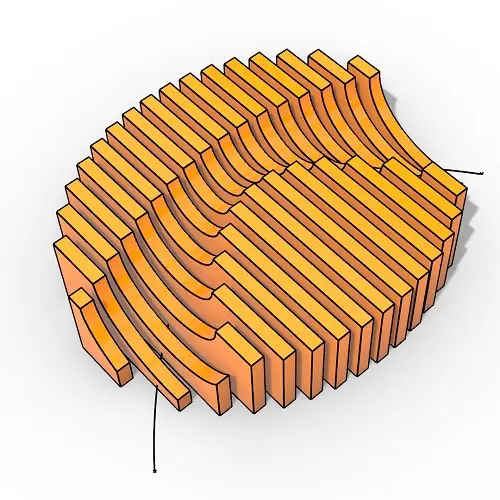
In this Rhino Grasshopper tutorial, you will learn how to generate parametric contour sections created from a closed boundary curve
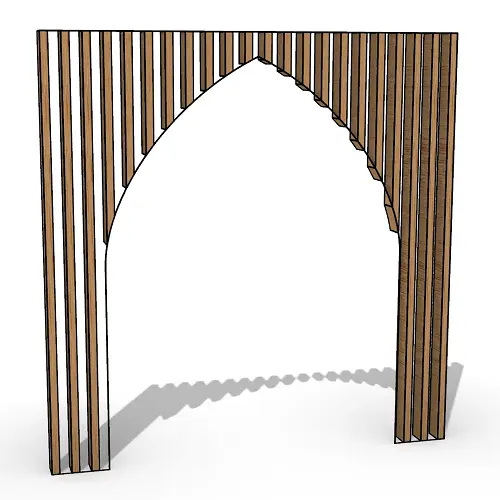
In this Rhino Grasshopper tutorial for beginners, you will learn how to generate a series of vertical boxes inside a
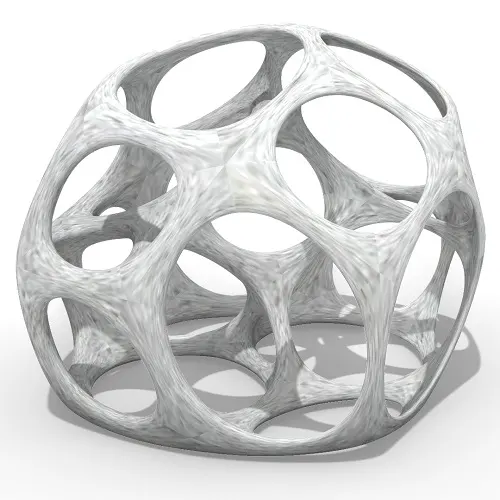
In this Grasshopper tutorial for beginners you will learn how to relax a series of 3d voronoi cells inside a
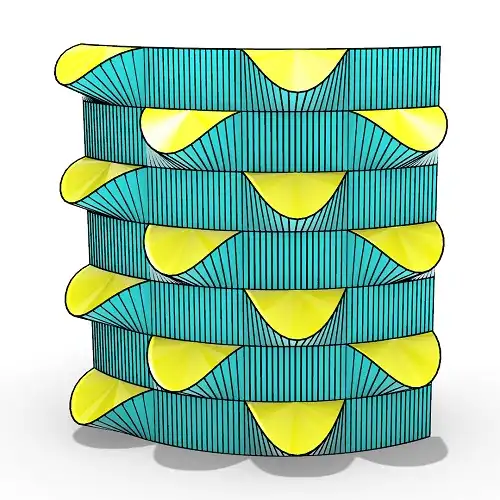
In this grasshopper tutorial for beginners you will learn how to make a series of openings on a Nurbs surface
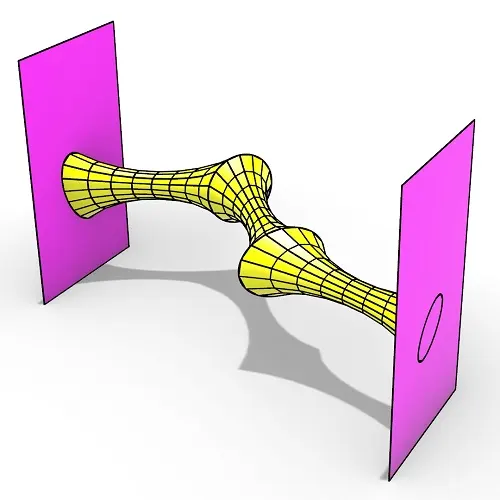
In this Rhino Grasshopper tutorial for beginners you can learn how to make a series of relaxing meshes based on
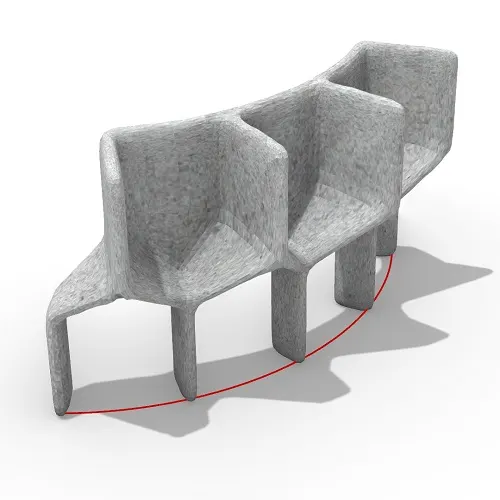
In this grasshopper tutorial for beginners you will learn how to convert a series of simple Nurbs & Mesh geometries
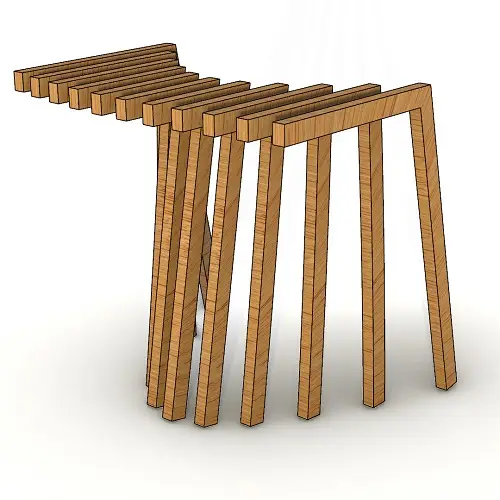
In this Rhino Grasshopper tutorial for beginners, you’ll learn how to create a series of contours by just defining a
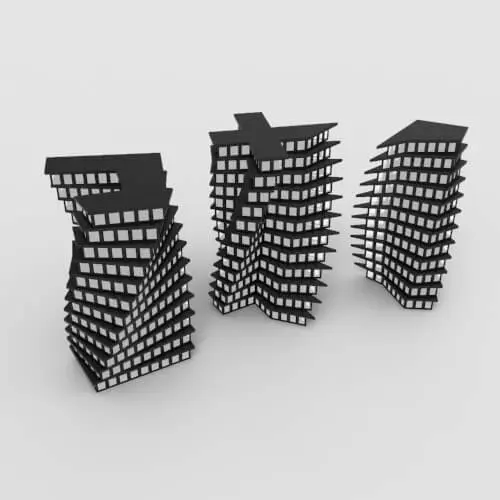
In this Grasshopper lesson, I will talk about managing output data with a turning tower example. First I,m going to
In the introductory lesson, we’ll explore the Grasshopper 1.0 canvas and familiarize ourselves with its fundamental features.
Now we have learned the basics of the canvas we will take a look at the most important aspect of
Now we will learn how to manage data with more tools like list length , partition list and simplify.
After learning about the Partition list, it’s time to learn how to destroy the data trees with flatten and also
After learning about the flatten, now we have to know where to graft the inputs to get our desired results.
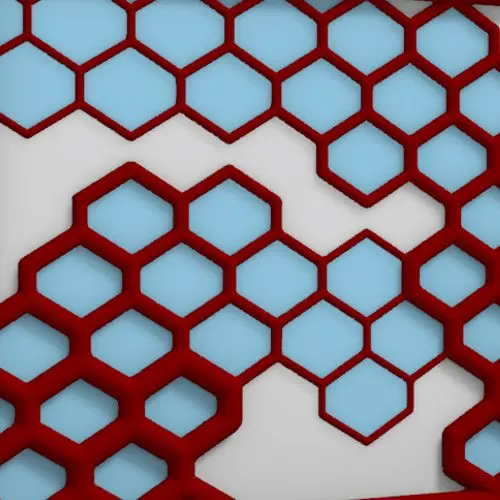
In this Grasshopper example file, you can design a parametric facade with variable-thickness hexagonal cells.
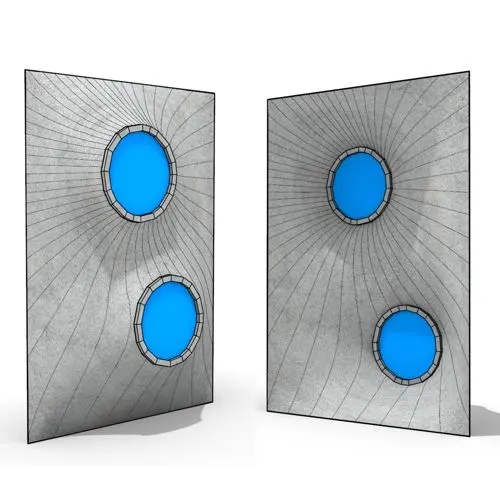
In this Grasshopper example file, you can model and simulate a parametric facade with free-form openings using the mesh relaxation
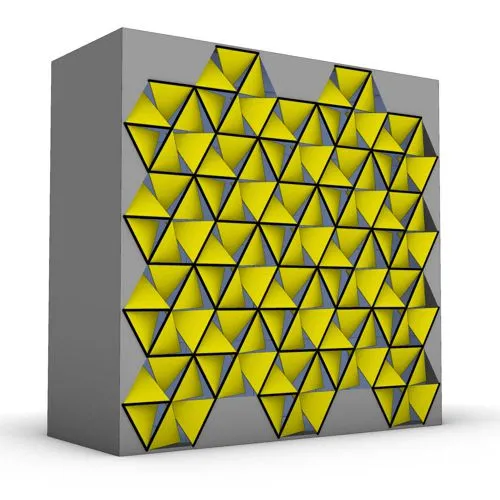
In this grasshopper example file, you can use a hexagonal module to model a parametric facade.
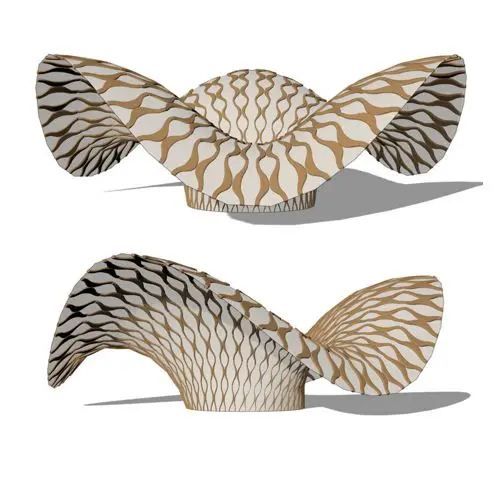
In this grasshopper example file, you can use the morph components to apply a 3d wave pattern on a mesh.
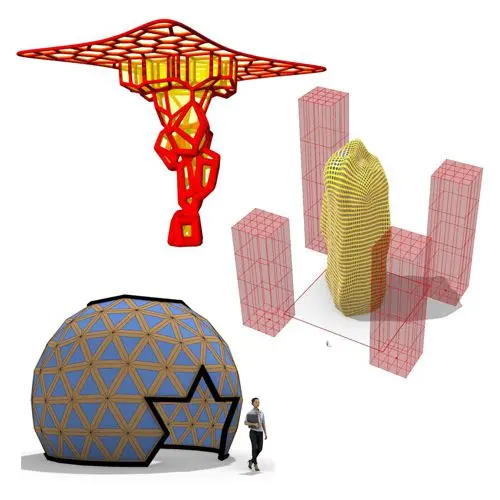
In these Grasshopper example files, you can design a parametric geodesic dome with customizable openings, generate optimized tower forms using

In this Grasshopper example file, you can create relaxing Voronoi cells on a facade , a blobby form with a


Learn parametric design from scratch with over 100 hours of step-by-step tutorials, covering beginner to intermediate levels. Master components and their use in the design process.

Explore our open-to-edit .gh files to see how each subject is designed parametrically using Grasshopper3D. Freely adapt them for your projects—no credit required.
Delve into complete algorithms with our advanced tutorials. Learn the logic behind each step, understand how the parts work together, and see how to apply them effectively in your designs.
Reviews
There are no reviews yet.