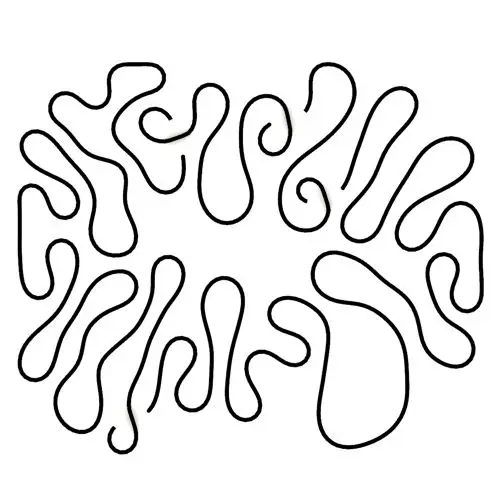
Differential Growth
In this Kangaroo Grasshopper tutorial, you’ll learn how to create a differential growth pattern on any mesh surface by projecting
In this Tutorial, I will show you how you can use the Voronoi command in Grasshopper and how you can use it to produce the Voronoi cells. First we will talk about the random nature of voronoi cells and then we will use populate…
Duration : 14 minutes
In this Tutorial, I will be talking about the Voronoi command in Grasshopper 3d and how you can use it to produce the Voronoi cells with it.

To start we can double click on the canvas and search for “vor”. The Voronoi tool will show up. Notice that there is a Voronoi 3D tool also. This tool will produce cells in 3d boxes and I will talk about it in another tutorial.

The next step is to give the Voroni tool a set of points. You can go to Params>Geometry and choose “point” and then right click on it and select multiple points to set them. After the point, you should give the Boundry a rectangle by using the curve tool (Params>geometry). I will explain why we need it!

After connecting the point and the boundary we will have the cells. If you change the point’s location you will also see the cells change.

The first tip about Voronoi is that the points should be randomly distributed. If you give a regular grid of points to the tool you will end up with rectangles!

If I change the location of several points in the regualr grid, you can see the Voronoi cells emerge.

The next tip is that it’s best to keep the points in a plane. If I move three points upwards you can see that the pattern doesn’t change.

The Next point about Voronoi is that we can give a number to the Radius and produce circles which collide with each other. By increasing the radius the circles will grow and produce straight lines in the intersection. That is because the force of each circle is the same!

We need the boundary (and it should be planar + rectangular) to stop the circles growing to infinity. That is because the circles on the outermost part will continue to grow and will never produce straight lines! So the boundary assures that this happens!

If you don’t give a boundary , Grasshopper will finally wrap up the circles in a square.

If you want to see the circles you can define a very big boundary outside the cells to reach and even if you increase the radius you will have circles on the outer part of the cells.

You can also connect a Region Union (Intersect>Shape) to the output to unite the circles and then use Boundary (Surface>Free form) to make the cells visible.

Another definition for the Voronoi cells is that if you connect the points to each other by triangles (Delaunay edges) you can then draw lines which will split the edges into half and also be perpendicular at the same time. These are the Voronoi cell’s edges.


You can also change the plane for the Voronoi cells as below.

You can also draw a rectangular surface in rhino and then give it to the plane. Grasshopper will automatically give the plane of the surface to the cells. by moving and rotating the surface you can control the orientation of the cells.

Another technique for producing the Voronoi cell is using “Populate Geometry” (Vector>Grid). First, connect a surface to the rectangular boundary and then give it to the Geometry input. Populate geometry will produce randomly distributed point in the rectangle which you can later give to the the Voronoi tool.

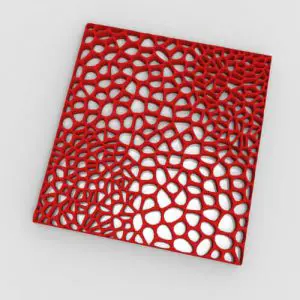
In this Tutorial, I will show you how you can use the Voronoi command in Grasshopper and how you can use it to produce the Voronoi cells. First we will talk about the random nature of voronoi cells and then we will use populate…

In this Kangaroo Grasshopper tutorial, you’ll learn how to create a differential growth pattern on any mesh surface by projecting
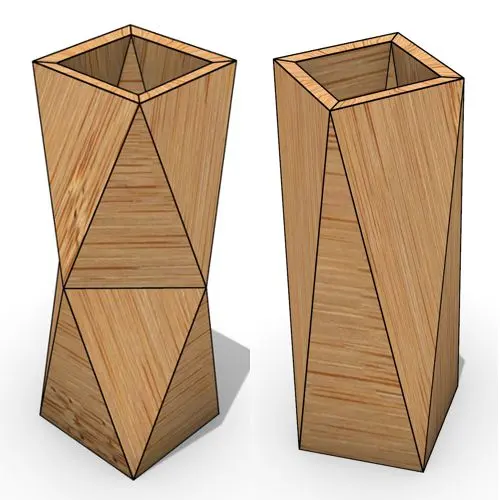
In this Grasshopper beginner tutorial, you’ll learn how to design a parametric vase with triangular faces, fully controllable height, thickness,
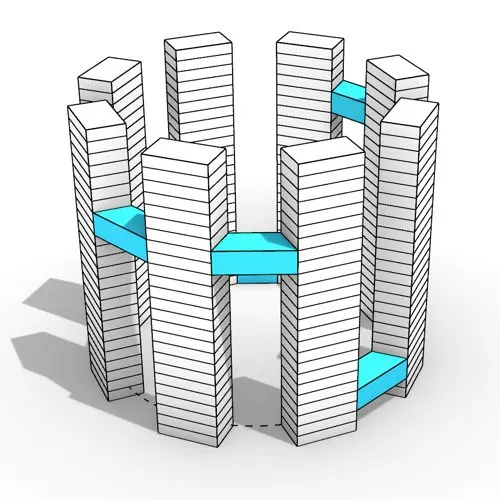
In this Grasshopper tutorial, you’ll learn how to design a series of parametric towers arranged around a curve and connect

In this Grasshopper tutorial, you’ll learn how to design a parametric wall using solid difference and contour techniques.

In this Grasshopper example file, you can model an exoskeleton Mesh structure with entwined curves parametrically.

In this Rhino Grasshopper tutorial for beginners, you’ll learn how to model a parametric Voronoi MultiPipe SubD structure on a
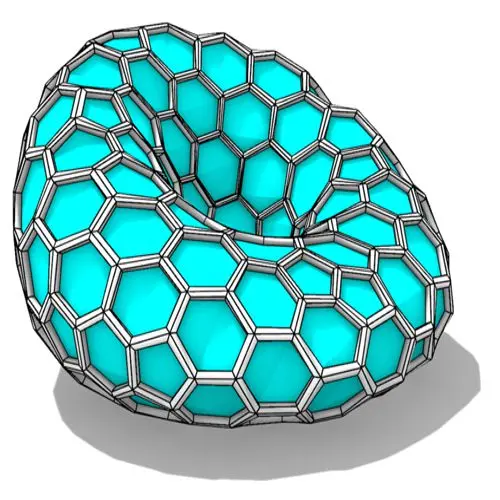
In this Grasshopper tutorial, you’ll learn how to create a parametric form by defining a base polygon and converting it
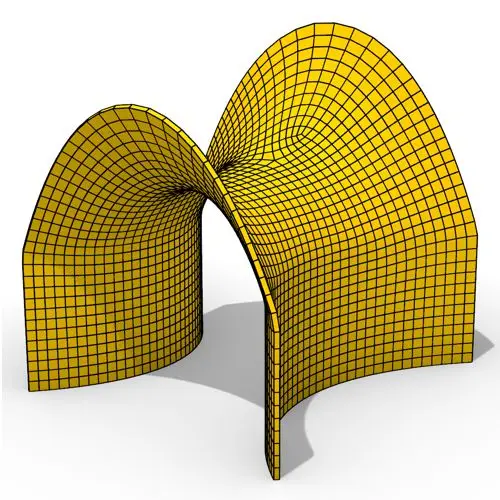
In this Grasshopper tutorial, you’ll learn how to create a minimal surface generated from a series of catenary curves using
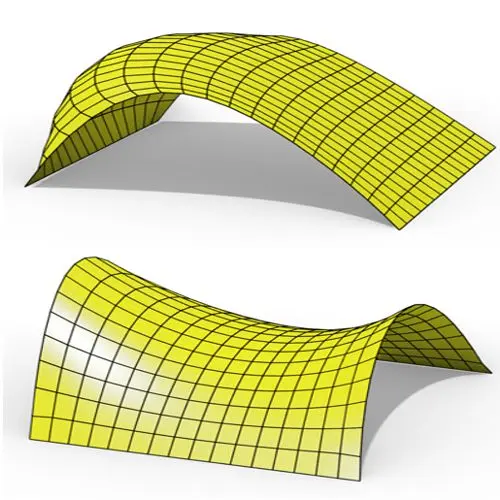
In this Grasshopper Kangaroo tutorial, you’ll learn how to create a parametric mesh and deform it using wind forces and
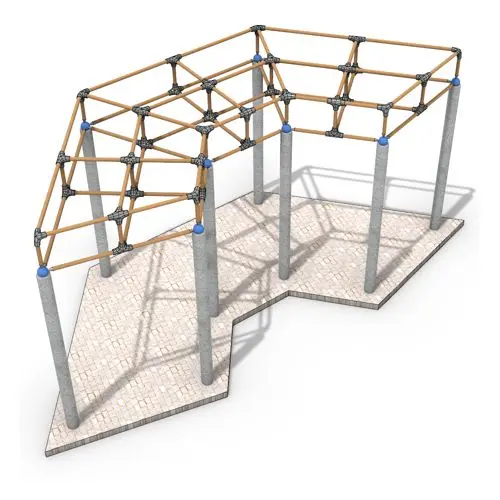
In this Grasshopper tutorial, you’ll learn how to create a simple two-layer Vierendeel space frame structure by defining any four-sided
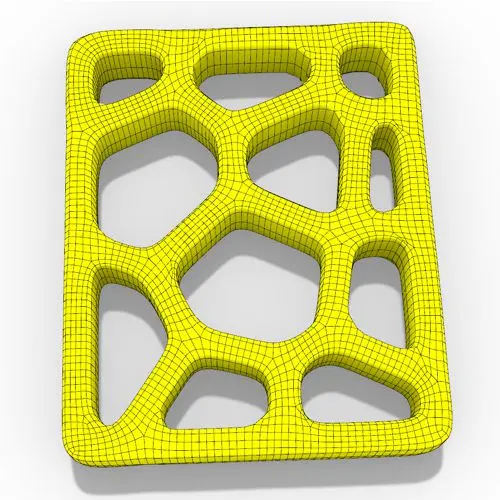
In this Grasshopper Voronoi tutorial, you’ll learn how to create a parametric mesh generated from random or controllable Voronoi cells

In this Grasshopper tutorial, you’ll learn how to create a dynamic parametric mesh using section curves and Kangaroo physics to

In this Grasshopper tutorial for beginners, you will learn how to design a parametric tower defined by four control points

In this Grasshopper tutorial for beginners, you will learn how to design a parametric facade composed of modular openings.
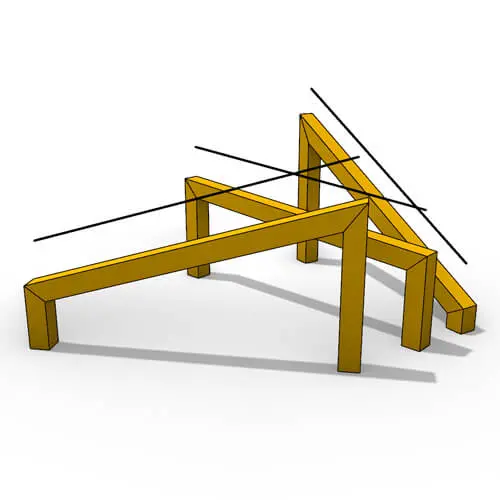
In this Grasshopper tutorial because we know how to convert a series of lines to a frame now we can
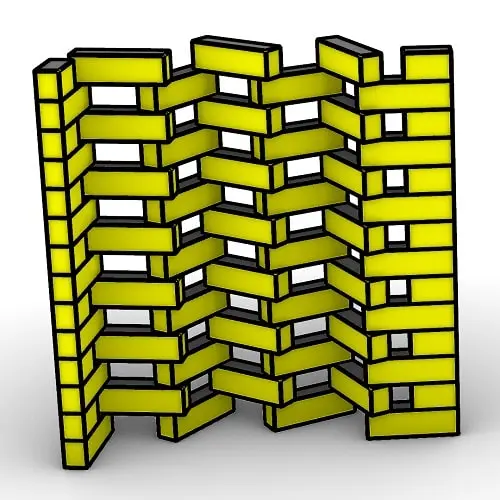
In this Rhino Grasshopper Script, you can model a parametric brick wall by defining a base curve

In this Grasshopper Python Lesson, we are going to talk more about the basics and how to use Print and
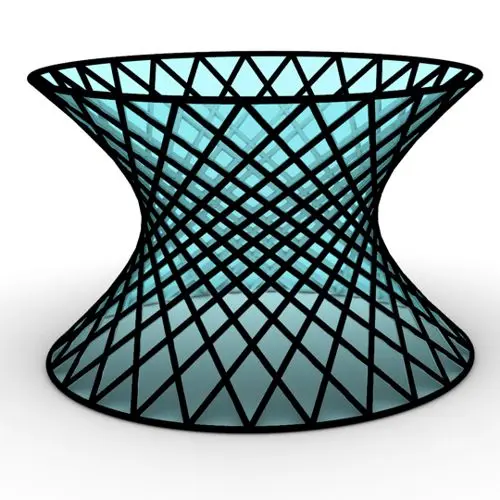
In this Rhino Grasshopper Tutorial we are going to learn how to make a series of rotating lines around two
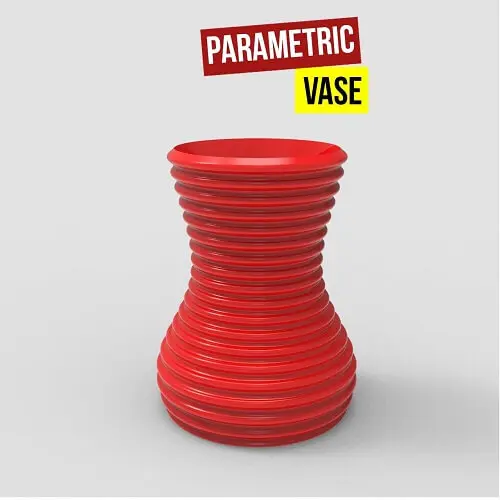
In this Paracourse Lesson (25 Minutes), You can learn how to model a parametric vase by using a Perlin Noise

In this Grasshopper lesson, I will talk about managing output data with a turning tower example. First I,m going to

In the introductory lesson, we’ll explore the Grasshopper 1.0 canvas and familiarize ourselves with its fundamental features.
Now we have learned the basics of the canvas we will take a look at the most important aspect of
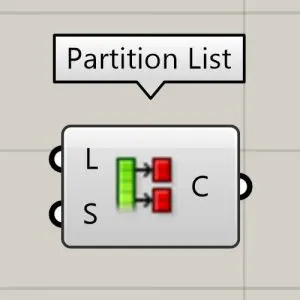
Now we will learn how to manage data with more tools like list length , partition list and simplify.
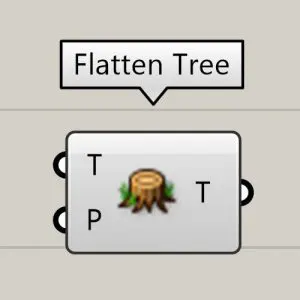
After learning about the Partition list, it’s time to learn how to destroy the data trees with flatten and also

In this Grasshopper example file, you can design a parametric facade with variable-thickness hexagonal cells.

In this Grasshopper example file, you can model and simulate a parametric facade with free-form openings using the mesh relaxation
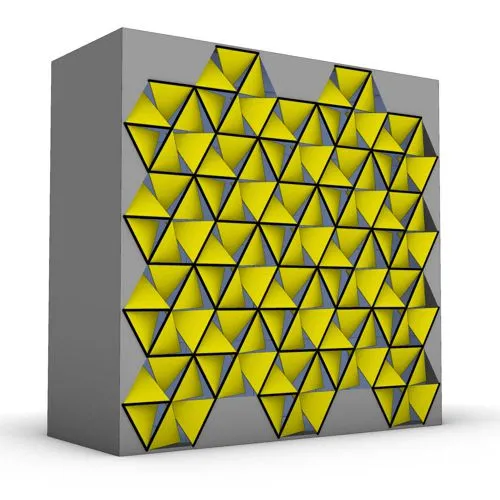
In this grasshopper example file, you can use a hexagonal module to model a parametric facade.
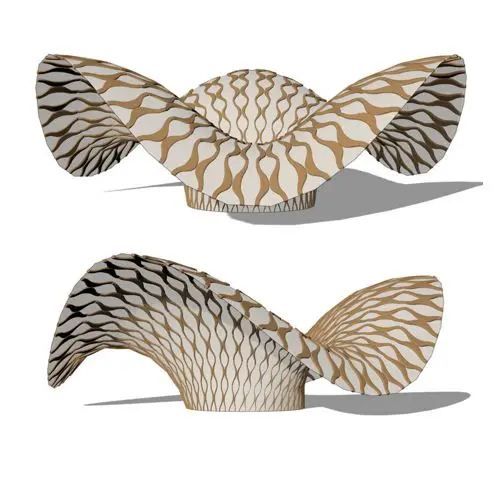
In this grasshopper example file, you can use the morph components to apply a 3d wave pattern on a mesh.

In these Grasshopper example files, you can design a parametric geodesic dome with customizable openings, generate optimized tower forms using

In this Grasshopper example file, you can create relaxing Voronoi cells on a facade , a blobby form with a
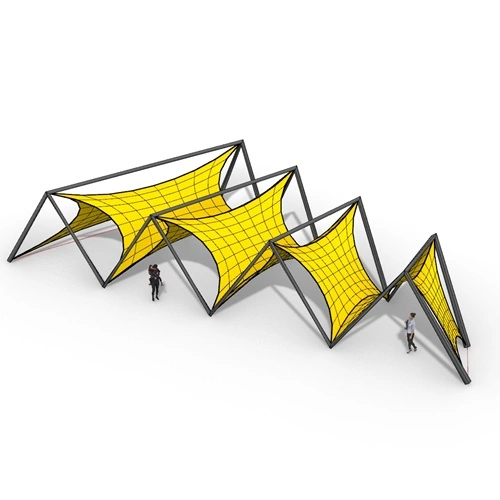
In this Grasshopper example file, you’ll learn how to model and simulate a zigzag tensile entrance/corridor using Kangaroo and dynamic
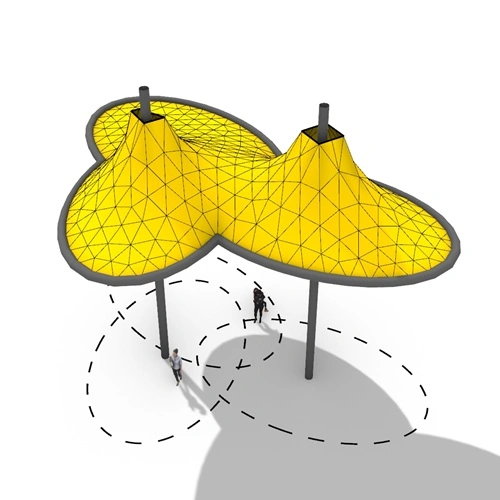
In this Grasshopper example file, you’ll learn how to model a tensile canopy with irregular plan shape using Kangaroo and
Automate and adjust dimensions in Grasshopper with the new Aligned Dimension component in Rhino 8. Ensure real-time accuracy and precision
Easily detect kinks and sharp transitions in curves with the Discontinuity component in Grasshopper! Identify and split curves precisely where
Easily merge multiple polysurfaces into a single brep with the Append Polysurfaces component in Pufferfish! Ideal for capping, offsets, and
Easily manage repetitive models with the Model Block Instance component in Rhino 8. Duplicate block instances efficiently while maintaining precision
Parametric Ideas for Architects @2025
This tutorial or example file is exclusive to Paracourse Members.
Paracourse is an extensive library of video tutorials and example files, designed to guide you through your parametric design journey. With over 1,500 open example files & 600 Video Tutorials, you can freely edit and adapt them for your projects—no credit required.

Learn parametric design from scratch with over 100 hours of step-by-step tutorials, covering beginner to intermediate levels. Master components and their use in the design process.

Explore our open-to-edit .gh files to see how each subject is designed parametrically using Grasshopper3D. Freely adapt them for your projects—no credit required.

Delve into complete algorithms with our advanced tutorials. Learn the logic behind each step, understand how the parts work together, and see how to apply them effectively in your designs.
Grasshopper empowers architects and designers to create sophisticated, customizable designs with ease.
Architects, industrial designers, artists, and anyone passionate about parametric design will find value in this course.
With diverse tutorials and open example files, you’ll have everything you need to tackle any design challenge.
Mastering Grasshopper with Paracourse can significantly enhance your career prospects.
1 review for Voronoi Basics
parametric –
Great Tutorial