3- Metaball & Cocoon
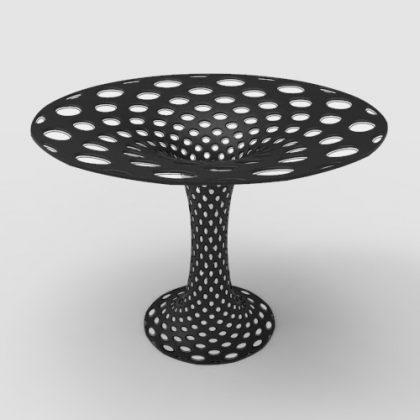
In this grasshopper tutorial, I will show how you can use metaball and the Cocoon Plugin to produce voxel models. The base of this tutorial is to teach you how you can use the voxel modeling technique to model complicated forms.

In this grasshopper tutorial, I will show how you can use metaball and the Cocoon Plugin to produce voxel models. The base of this tutorial is to teach you how you can use the voxel modeling technique to model complicated forms.
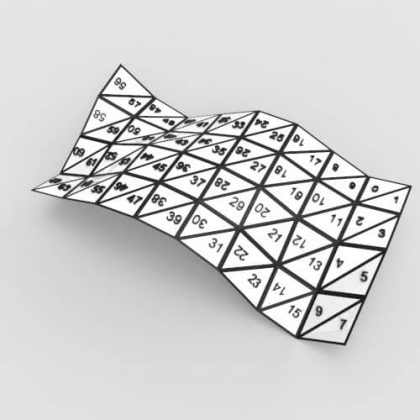
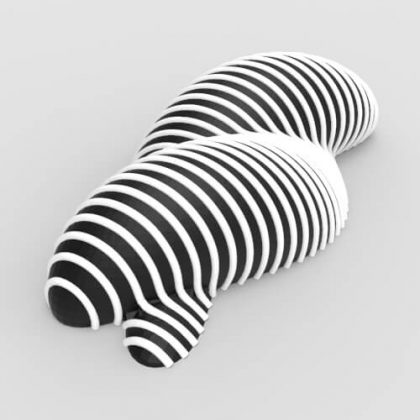
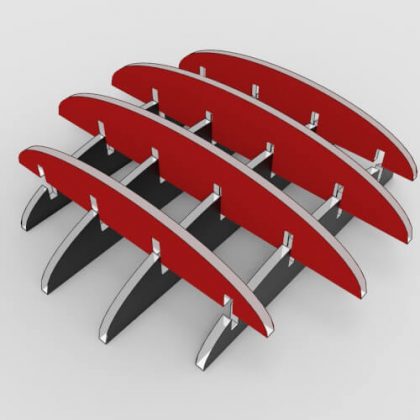
In this lesson, I will talk about a technique which you can use to fabricate a freeform surface with paper or cardboard. First I will explain the restrictions for the Geometry and then I will make the sections which the panels will sit on. We will also talk about simple nesting in Grasshopper.
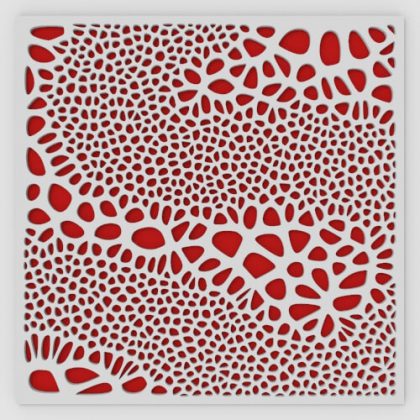
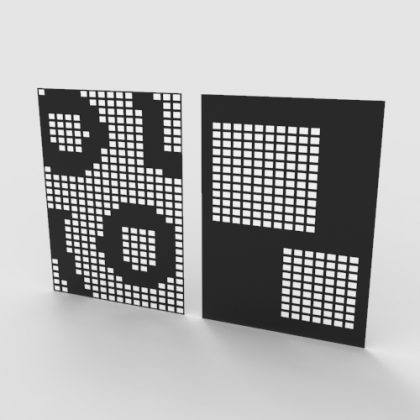
In this Grasshopper Course lesson, I will use the image sampler and combine it with Voronoi cells. Basically, this will help you understand how to analyze images brightness for geometry transformations.
In this Tutorial, I will show you how you can use the Voronoi command in Grasshopper and how you can use it to produce the Voronoi cells. First we will talk about the random nature of voronoi cells and then we will use populate…
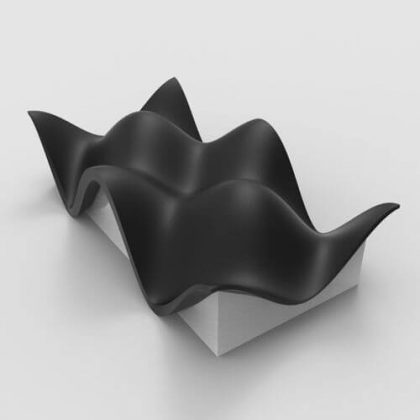
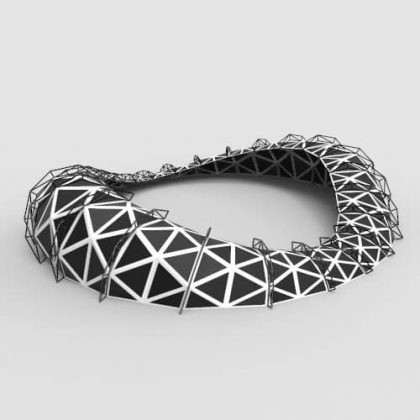
In this Lesson I will model the Bosjes Chapel In grasshopper. First I will explain how you can use the Graph Mapper to produce the base curves and then we will use scaleNU and orientation to make the freeform shell structure. At the end we will model the glass surface.
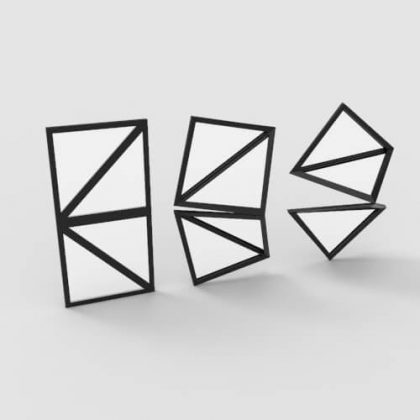
In this grasshopper tutorial I will explain about two different techniques to model mathematical surfaces: Isomesh & Parametric. First I will explain how you can model the Isomesh surfaces in Grasshopper with the Monolith plugin and then I will Model the parametric surfaces with mathematical equations.
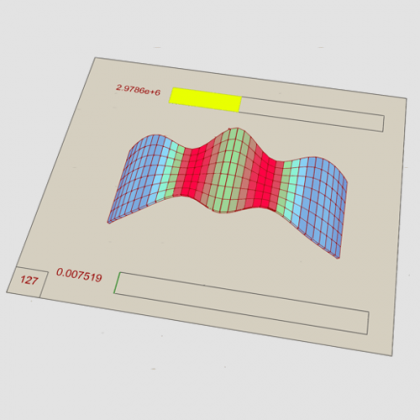
In this Grasshopper tutorial, I will model a parametric surface and then use the millipede plugin to optimize the structure based on maximum displacement.
In this grasshopper tutorial, I will model the evolution Door and show you how you can use simple geometrical assumptions to model a mechanism in Grasshopper. First we will study the Movement and then we will simulate it.

In this Grasshopper course lesson, we will combine plugins to produce bridges between meshes. First, we will produce the base meshes and then study how we can define the bridging between the faces.
In this ParaCourse Lesson, I will teach you how to model a wavy facade in Grasshopper. This tutorial is somehow Hard so watching the Multi-curve Attractor lesson will help you to understand the steps easily.
In this video, I will show you how you can use the Parametric Waffle shelf #1 in Grasshopper and produce the sections for Laser cutting or CNC Milling Enroll…
In this Grasshopper tutorial, I will show you some techniques which you can use to modify the rail curve. By modifying the rail curve you can also design new parametric models.
In this grasshopper tutorial, I will talk about dispatching in Grasshopper. First, we will use simple true/false Boolean patterns to understand the dispatch tool and then we will go on more advanced examples like point attractors, combining logics, extracting naked vertices and….
In this Grasshopper lesson, I will talk about managing output data with a turning tower example. First I,m going to model the tower and then I will talk about data management and the different components you can use to extract or delete data.
In this Grasshopper tutorial, I will teach you how to use sorting data to produce a spiral based surface and then convert it to smooth Mesh. First I will produce a surface by revolving a profile curve and then we will divide the surface with isotrim. By connecting the corners we can produce the spirals.
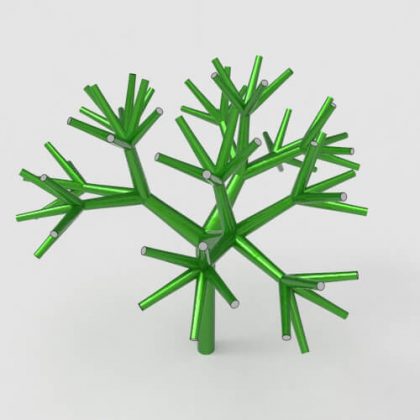
In this Paracourse Lesson we will use the Anemone plugin to produce a branching system in Grasshopper. First, we will talk about the Anemone plugin and how it works and then we will use the looping system to make the branches step by step and add multipliers which affect the overall shape. We will also give thickness to the branching lines by using pipe.
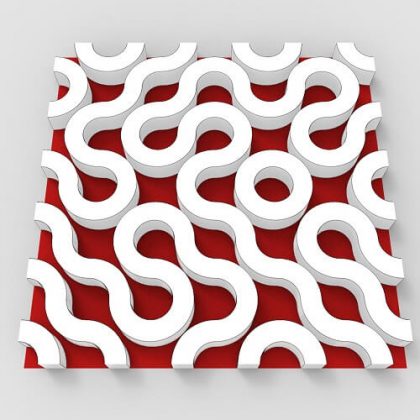
In this video, we will model the Truchet tiles in Grasshopper. First, we will take a look at the tiles and how Truchet tiles work. Then we will use dispatch to produce two sets of square cells. We will simply draw arcs from the midpoint of the edges to form the pattern.
In this Grasshopper Lesson, we will work with the UV curves of a NURBS surface to produce patterns or curves. First, we will study how the surface domain 2 works and then we will use intersections to produce more patterns.
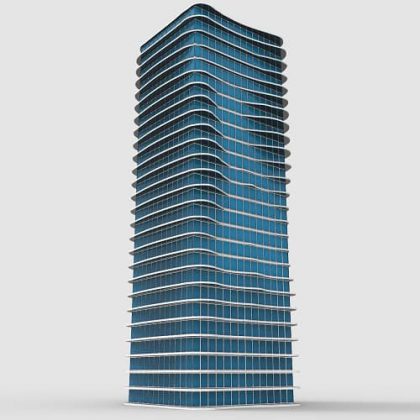
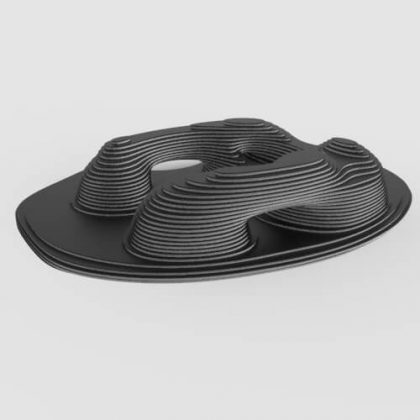
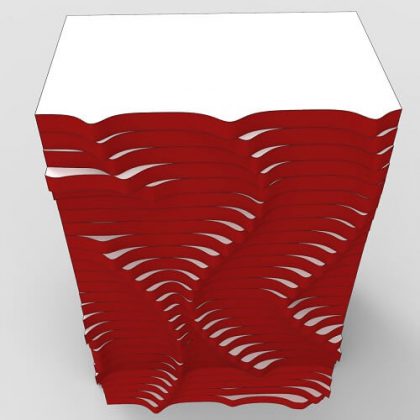
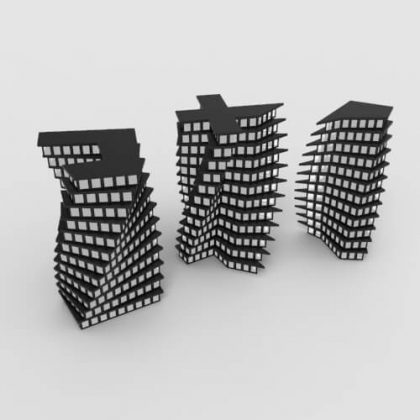
In this Paracourse Lesson, we will model something similar to the Aqua tower (located in Chicago) using the Cocoon Plugin. First, we will use a simple box to get the base shape and then by using curves we will model the facade and by implementing several techniques we will finish the tutorial.
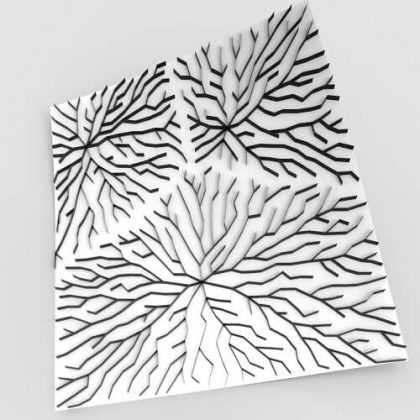
In this Grasshopper Lesson, I will show you with simple steps on how to make a venation pattern in Grasshopper using a short walk method. First, we will talk about the algorithm and how the pattern can be produced by random points and then we make it advanced by defining multiple point attractors.
In this Paracourse Lesson, we are going to bring the Rhino Helix/Spiral command into Grasshopper and control it parametrically. First, we are going to explain how a spiral or a helix is made and then we are going to bring some of the Grasshopper abilities such as graphs into the modeling and make it advanced!

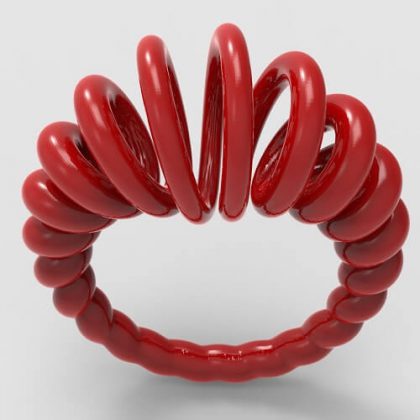
In this Paracourse lesson and in the Jewelry & Accessories section I’m going to teach you how to make a spiral earring in Grasshopper and how you can define the parameters which change the earring. In the end, you also learn how to give it thickness.
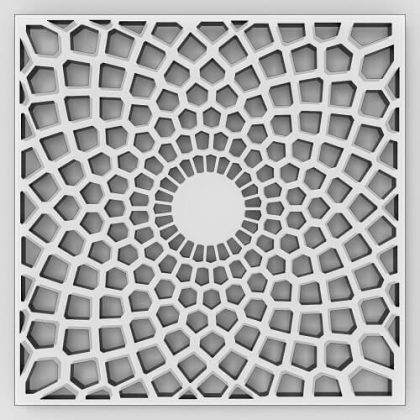
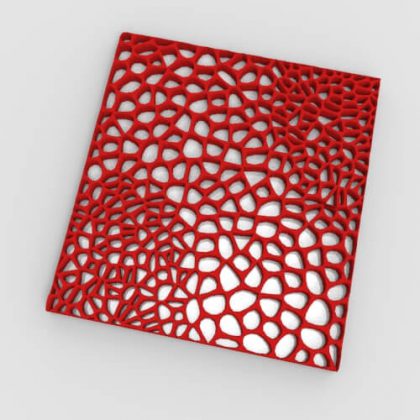
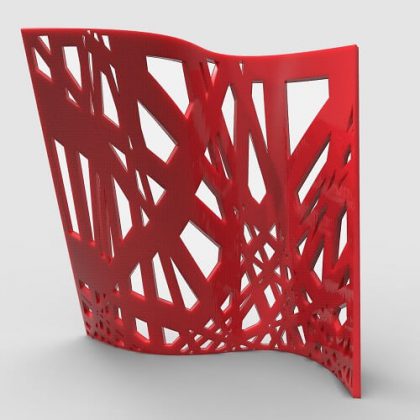
In this Paracourse Lesson, I’m going to teach you how you can model decorative Voronoi panels and produce the polylines for laser cutting or CNC milling. We will first use a technique to produce the cells and then change the parameters to produce desired results.
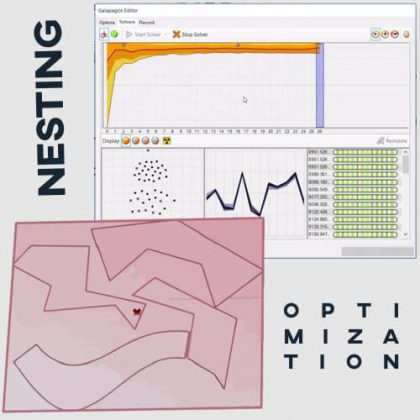
In this Paracourse Lesson, we are going to talk about a simple yet powerful example of nesting polylines and curves in Grasshopper and by the Help of Galapagos. First, we will define the algorithm of Nesting and then we will optimize it for the smallest Sheet Area possible.
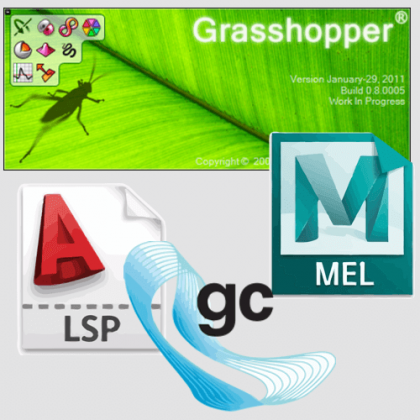
In this video I will talk about Grasshopper and the history of scripting vs visual programming language and why should we choose Grasshopper! First I will explain what scripting is and then I will explain the nature of Visual Programming Language and how Grasshopper is different from its competitors.
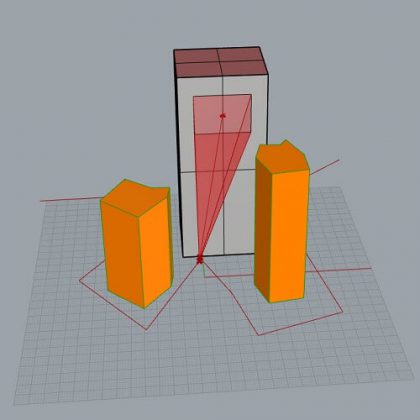
In this course lesson, I will show you how you can optimize a view with a simple lesson. first, we will define a target viewpoint and then we will define a path which the person walks on. We will also define obstacles and how they can affect the view.
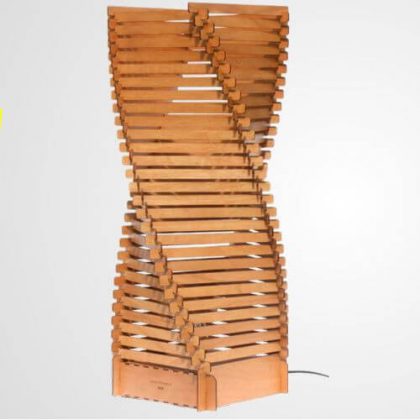
In this Twisted Floor Lamp definition, you can simply extract the final curves for fabrication. There are many different parameters for the twisted lampshade that you can change. (Rhino 6 Only)
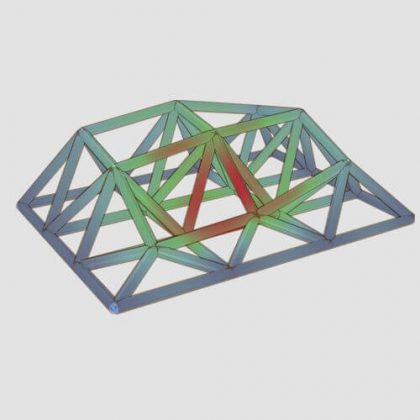
In this Paracourse Lesson, we are going to optimize the shape of a space truss using Grasshopper and Galapagos. First, we are going to explain how to make the space truss by using two parametric surfaces and the Lunchbox component and then we are using the Millipede Plugin to optimize the structure.
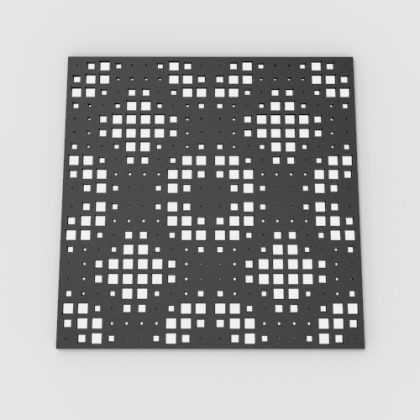
You can produce a parametric 3d panel with this definition. By changing the location of the point attractors and also changing the Graph mapper distribution you can produce different patterns. You can also control the distance between the panels.

by using the Peacock plugin (Offset variable component) you can simply offset a curve with variable numbers and define if you want it to offset from both sides, how to connect at the end and control the Bulge.